前言
本文系参考Butterfly 作者 Jerry 大佬进行编写
仅会记录自己需要用的功能点
详细其他更加细化的功能请参考大佬的配置文章
https://butterfly.js.org/posts/ceeb73f/
Math (数学)
- 文章中数学功能我们选择使用
KaTeX
Mathjax 和 KaTeX 二选一Mathjax 功能比较齐全KaTeX 比较轻量化比较快
修改 Theme 配置文件
- 修改根目录中的
_config.butterfly.yml 文件
- 搜索关键字
Math
- 按照自己的需求更改以下字段
1
2
3
4
5
6
7
|
katex:
enable: true
per_page: false
hide_scrollbar: true
|
替换 Markdown 渲染器
- 卸载掉
marked 插件
1
| npm uninstall hexo-renderer-marked --save
|
- 卸载掉
marked 插件
1
| npm uninstall hexo-renderer-kramed --save
|
- 安装
hexo-renderer-markdown-it
1
| npm install hexo-renderer-markdown-it --save
|
修改 Hexo 配置文件
-
打开根目录中的 _config.yml 文件
-
Markdown 渲染器配置文件模板
1
2
3
4
5
6
7
8
9
10
11
12
13
14
15
16
17
18
19
20
21
22
23
24
25
26
27
28
29
30
31
32
33
34
35
36
37
38
39
40
41
42
43
44
45
46
47
48
49
50
51
52
53
54
55
56
57
58
59
60
61
62
63
64
65
66
67
68
69
70
71
72
73
74
75
76
77
78
79
80
81
82
83
84
85
86
87
88
89
90
91
92
93
|
markdown:
preset: 'default'
render:
html: true
xhtmlOut: false
langPrefix: 'language-'
breaks: true
linkify: true
typographer: true
quotes: '“”‘’'
enable_rules:
disable_rules:
plugins:
- '@renbaoshuo/markdown-it-katex'
- markdown-it-named-headings
- markdown-it-mark
anchors:
level: 2
collisionSuffix: ''
permalink: false
permalinkClass: 'header-anchor'
permalinkSide: 'left'
permalinkSymbol: '¶'
case: 0
separator: '-'
|
- 按照自己的需求添加以下字段
1
2
3
| markdown:
plugins:
- '@renbaoshuo/markdown-it-katex'
|
Markdown 渲染器 Bug
hexo-renderer-markdown-it 会导致目录失效
- 安装
markdown-it-named-headings
1
| npm install markdown-it-named-headings --save
|
- 按照自己的需求添加以下字段
1
2
3
| markdown:
plugins:
- 'markdown-it-named-headings'
|
Search (搜索)
许多大佬都喜欢用在线搜索服务
但是我感觉还是有点安全问题
所以我们还是使用本地搜索比较好
安装 Hexo 搜索插件
我们这次使用比较新的 hexo-generator-searchdb
1
| npm install hexo-generator-searchdb
|
修改 Theme 配置文件
- 打开根目录中的
_config.butterfly.yml 文件
- 搜索关键字
local_search
- 按照自己的需求更改以下字段
1
2
3
4
5
6
7
8
9
10
11
12
13
|
local_search:
enable: true
preload: true
top_n_per_article: 1
unescape: true
CDN:
|
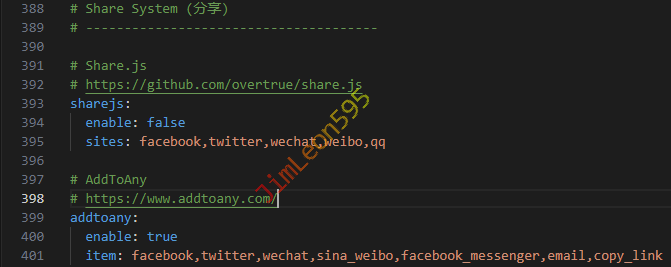
Share (分享)
share.js 和 AddToAny 二选一- 个人推荐比较新的
AddToAny
修改 Theme 配置文件
- 打开根目录中的
_config.butterfly.yml 文件
- 搜索关键字
Share
- 按照自己的需求更改以下字段
1
2
3
4
5
6
7
8
9
10
11
12
13
14
|
sharejs:
enable: false
sites: facebook,twitter,wechat,weibo,qq
addtoany:
enable: true
item: facebook,twitter,wechat,sina_weibo,facebook_messenger,email,copy_link
|
评论 & 在线聊天
个人不太喜欢这些功能
未来可能会加入
所以现在还需要的大佬自己研究下吧
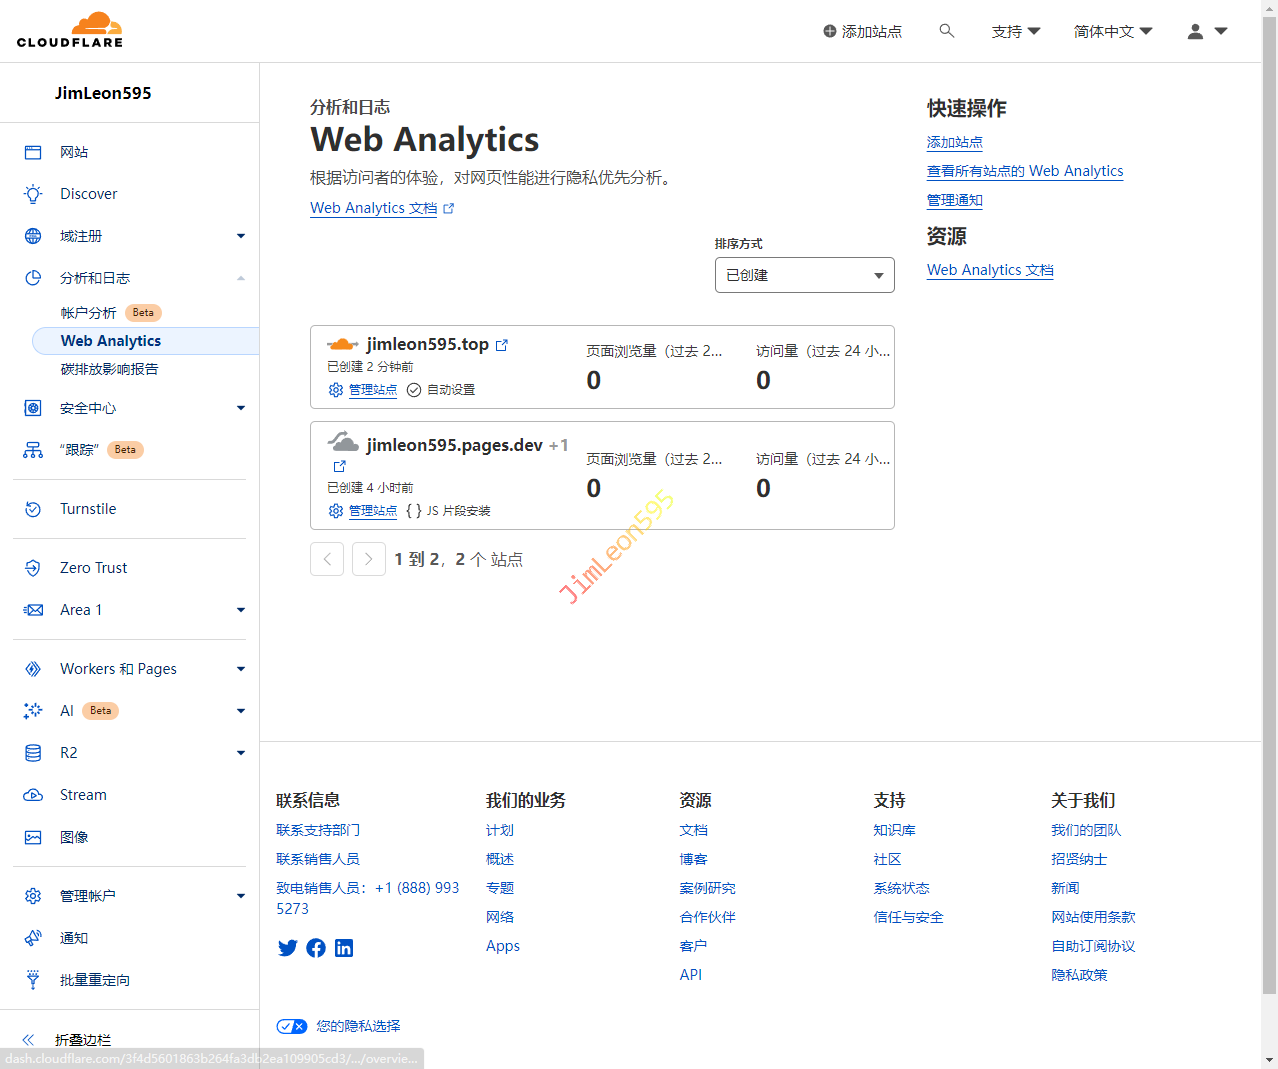
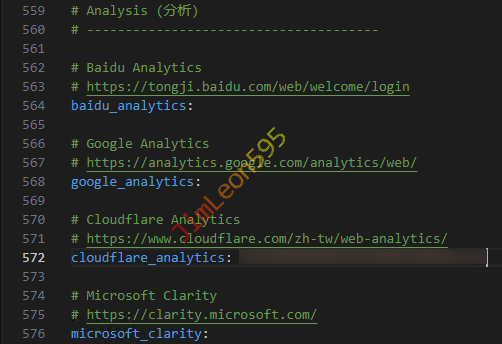
Analysis (分析)
我们这里直接使用 Cloudflare 的吧
进入 Cloudflare
分析和日志 --> Web Analytics --> 添加站点
添加站点
- 设置主机名
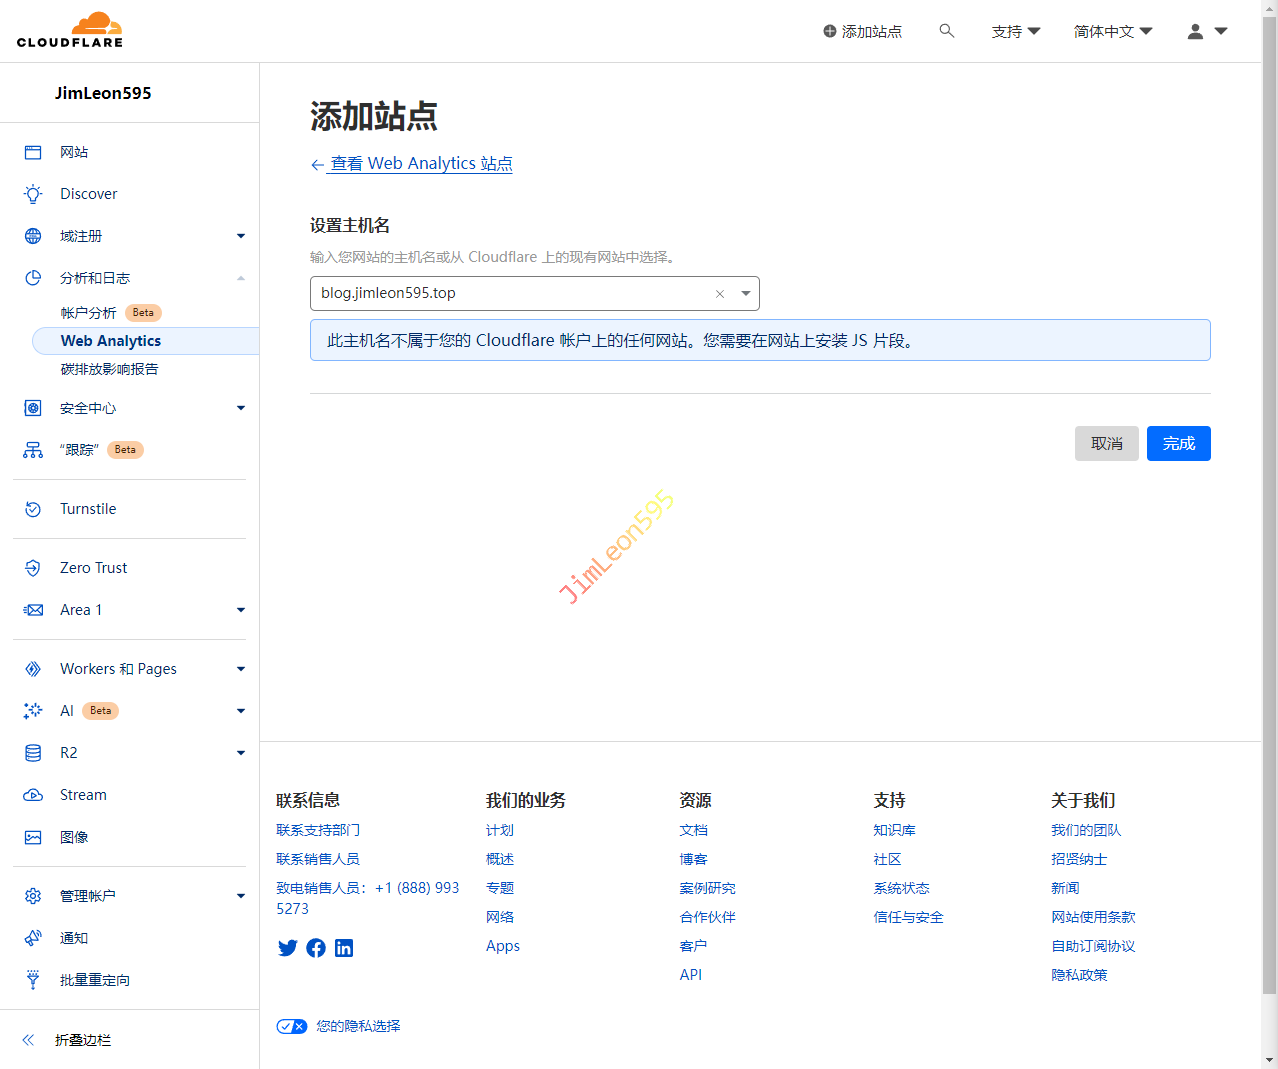
- 复制
JS 片段
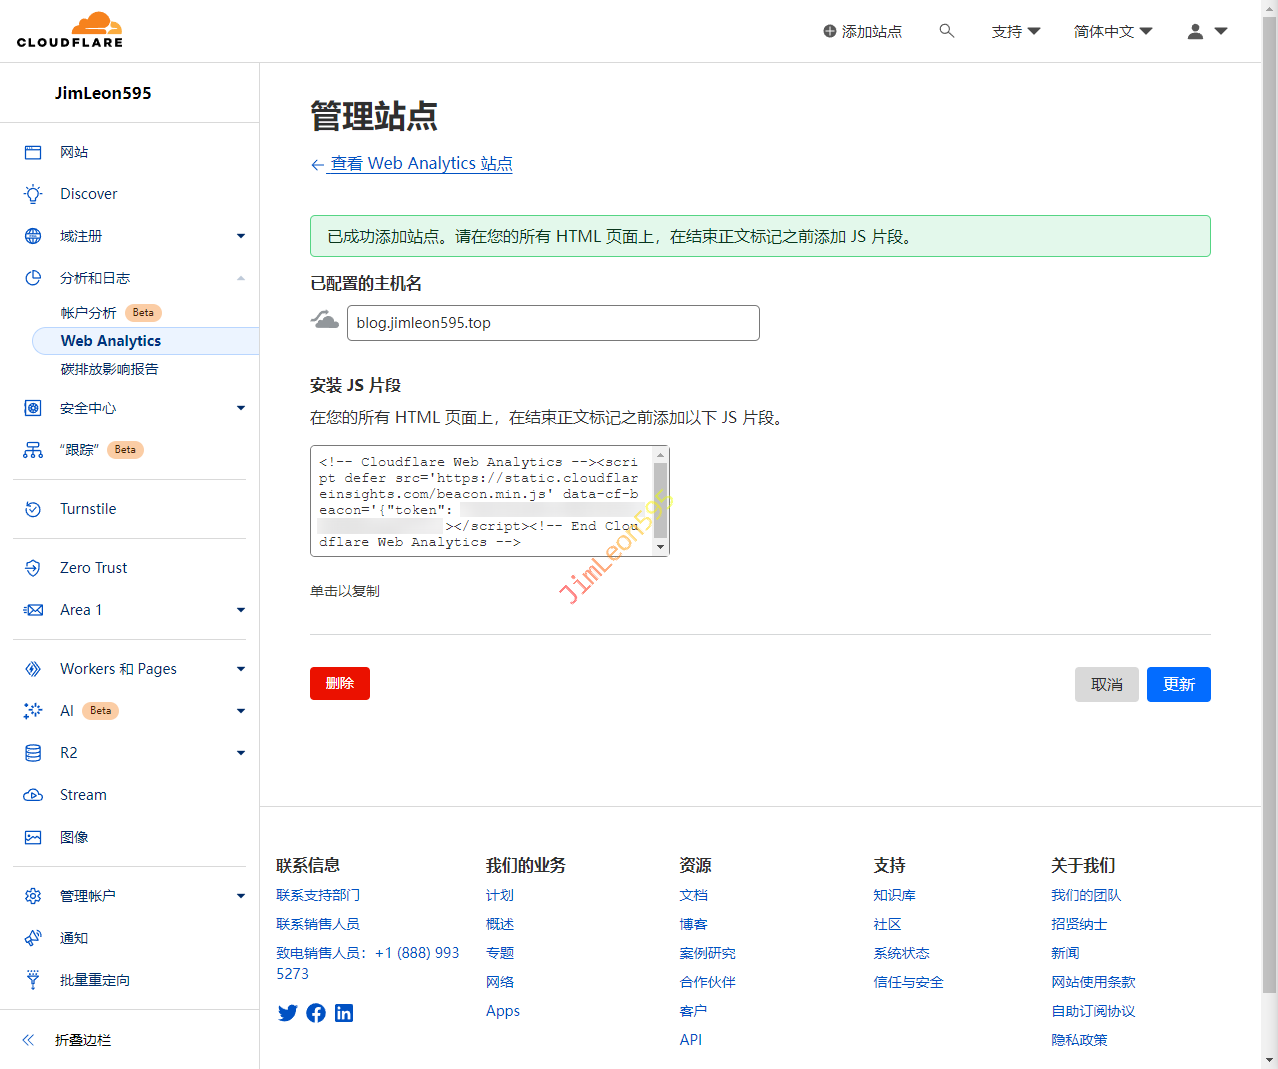
修改 Theme 配置文件
- 打开根目录中的
_config.butterfly.yml 文件
- 搜索关键字
Analysis
- 直接填写你的
Token 就🆗
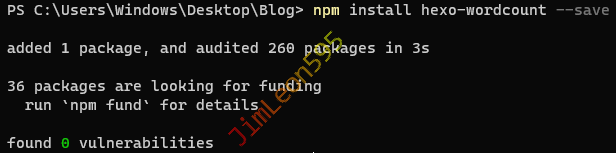
字数统计
安装字数统计插件
1
| npm install hexo-wordcount --save
|
修改 Theme 配置文件
- 修改
_config.butterfly.yml 文件
1
2
3
4
5
6
7
|
wordcount:
enable: true
post_wordcount: true
min2read: true
total_wordcount: true
|
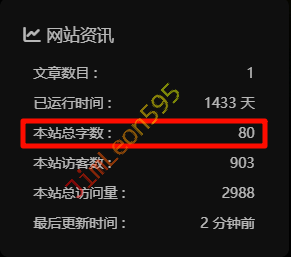
实现效果
参考 & 引用
https://butterfly.js.org/posts/ceeb73f/
https://seayj.cn/articles/33818/#er-xiu-fu-zhang-mu-lu-mao-dian-shi-xiao
https://blog.cxplay.org/works/hexo-renderer-markdown-it_and_plugins_config/