搭建网站准备
购买一个域名
得益于天朝安全的网络环境
所以我们在搭建网站之前要确定
你搭建的网站是面向国内还是面向世界
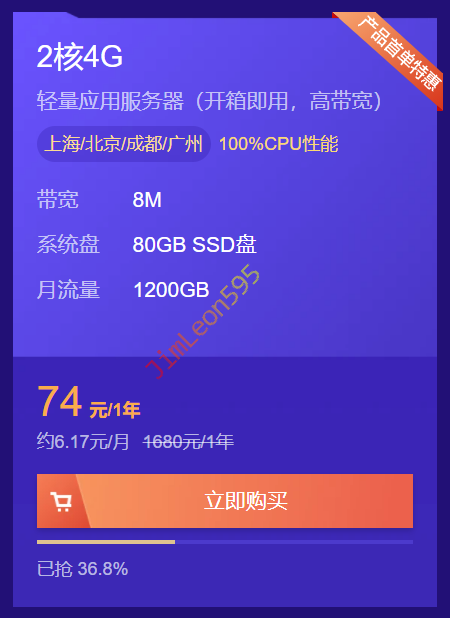
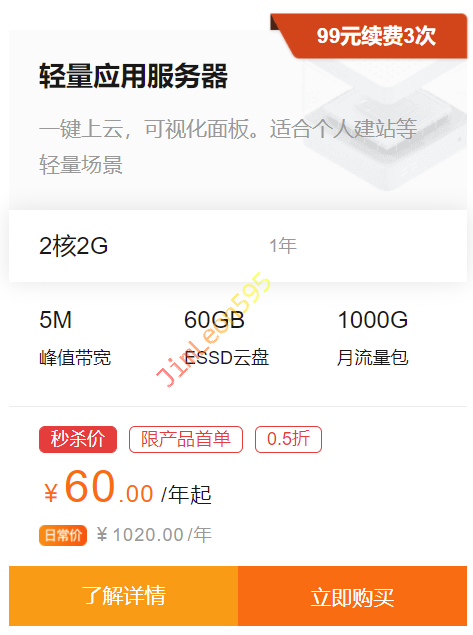
购买一个云服务器
国内使用云服务器
基本上就是腾讯云和阿里云
而且还有他们的学生优惠套餐
腾讯云
https://curl.qcloud.com/PySS7zKX
阿里云
https://www.aliyun.com/activity/new?userCode=puaeygl5
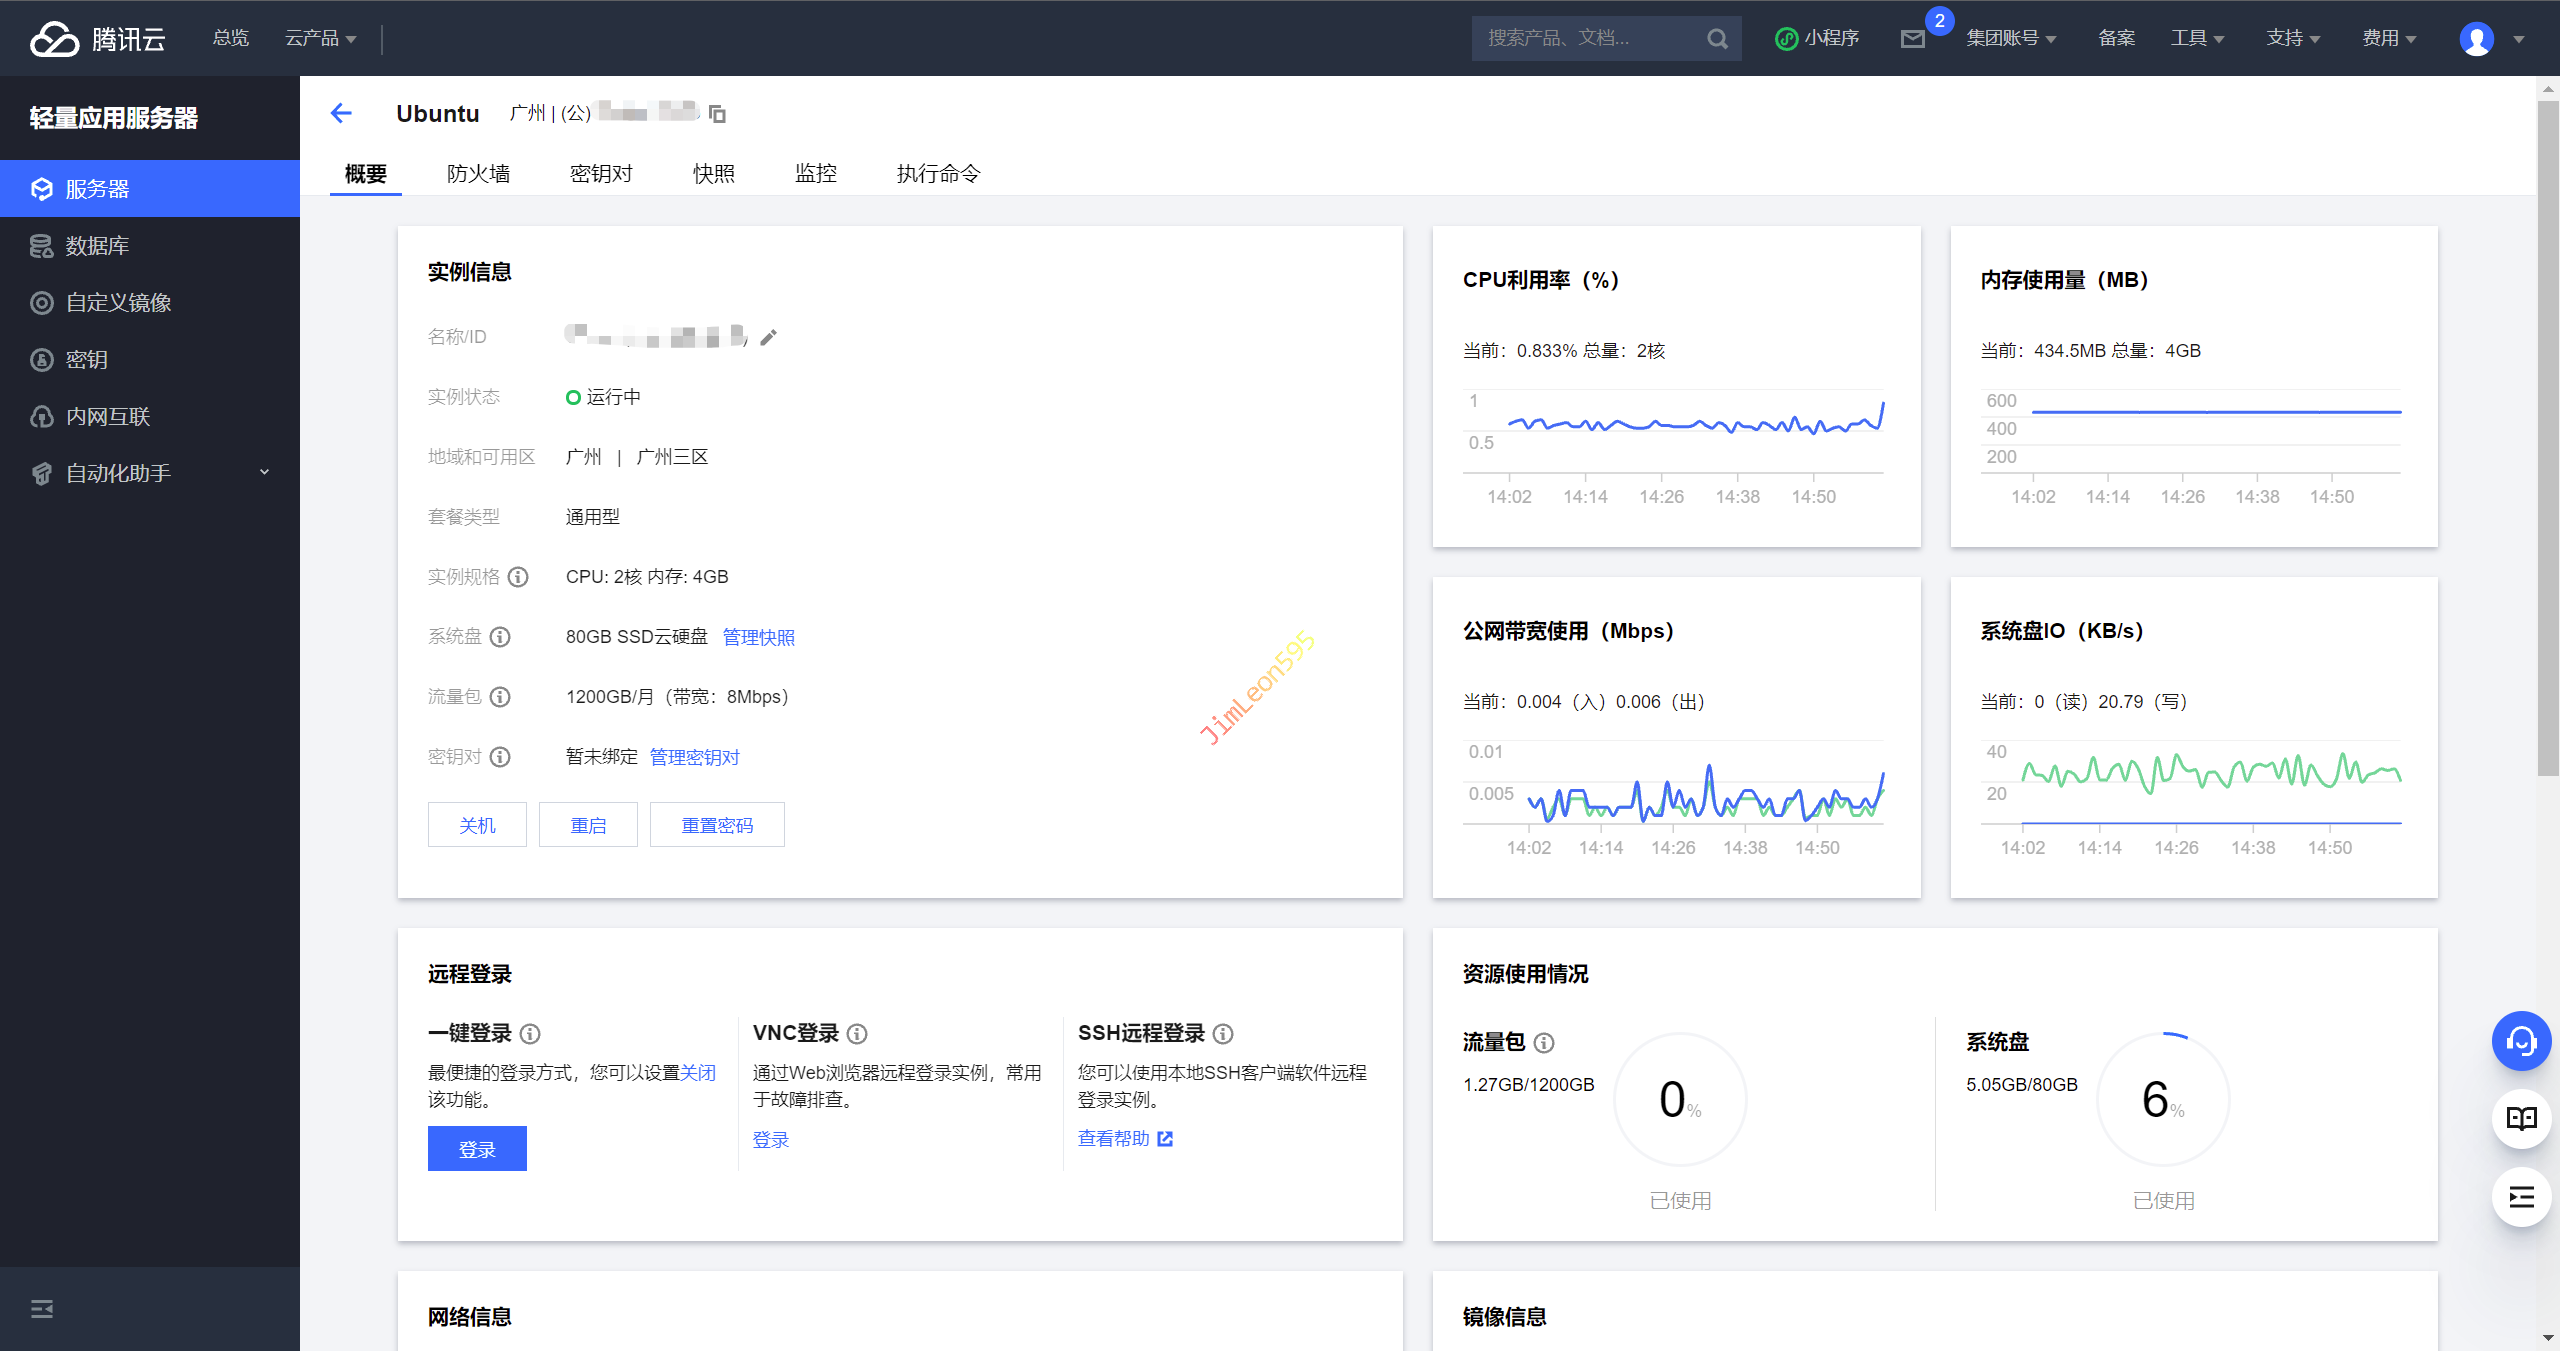
服务器初始化
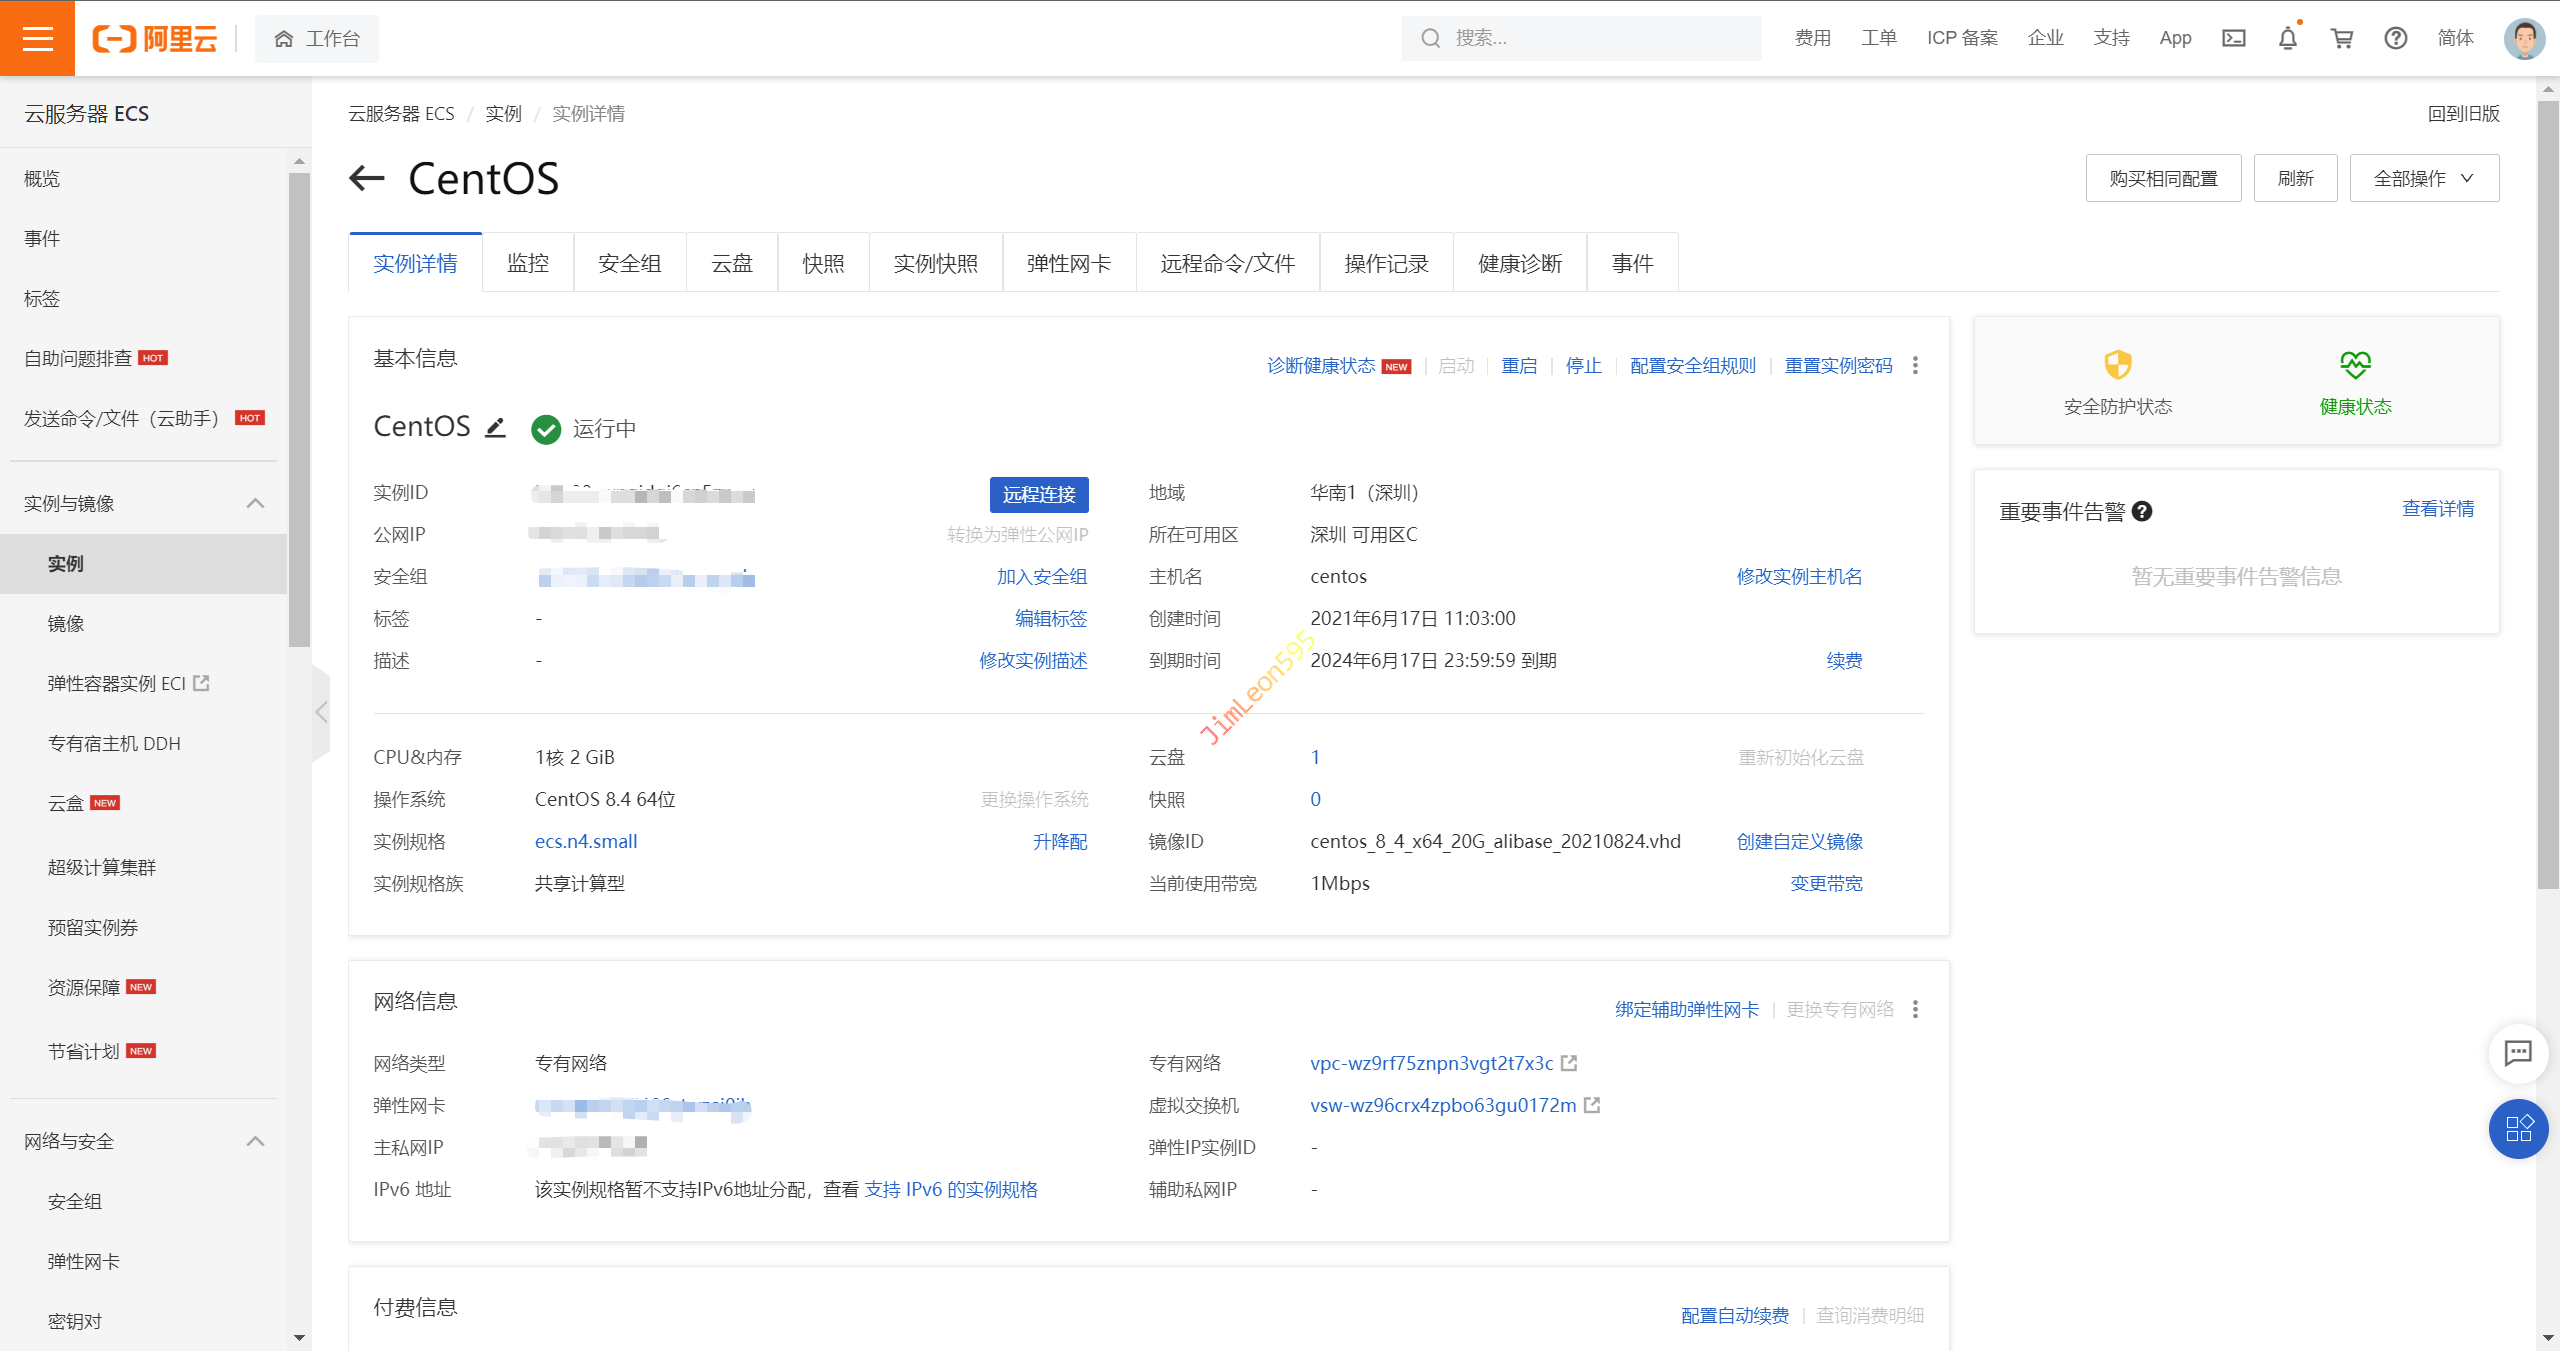
我这里选择了腾讯云的服务器
主要延迟低和界面比较直观一点
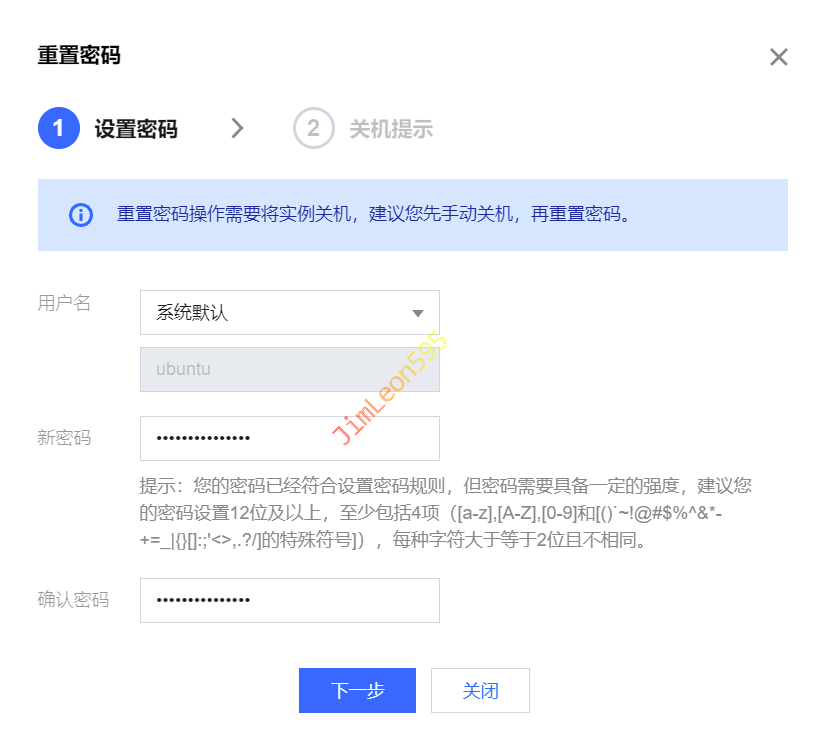
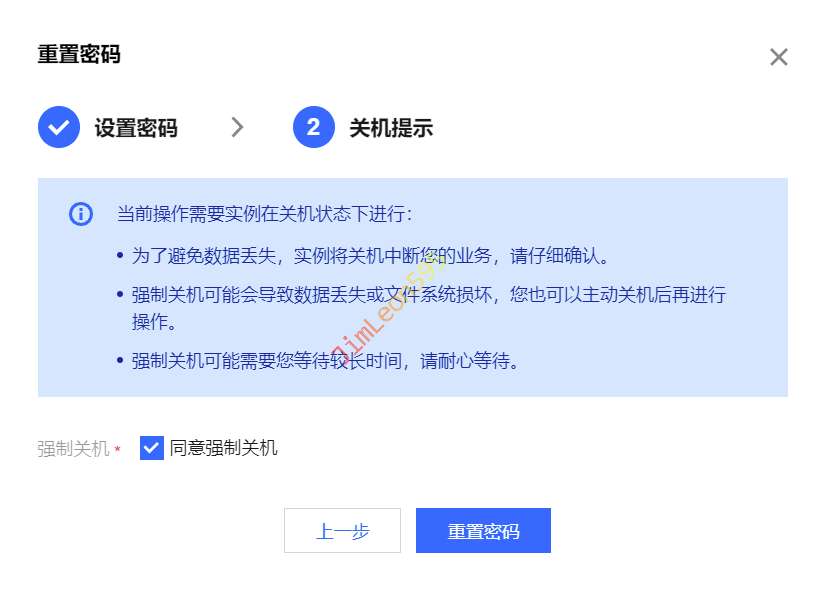
购买完成之后
我们第一步要先改一下密码
因为好像默认没有设置密码
然后使用我们的SSH工具
对我们的云服务器进行连接
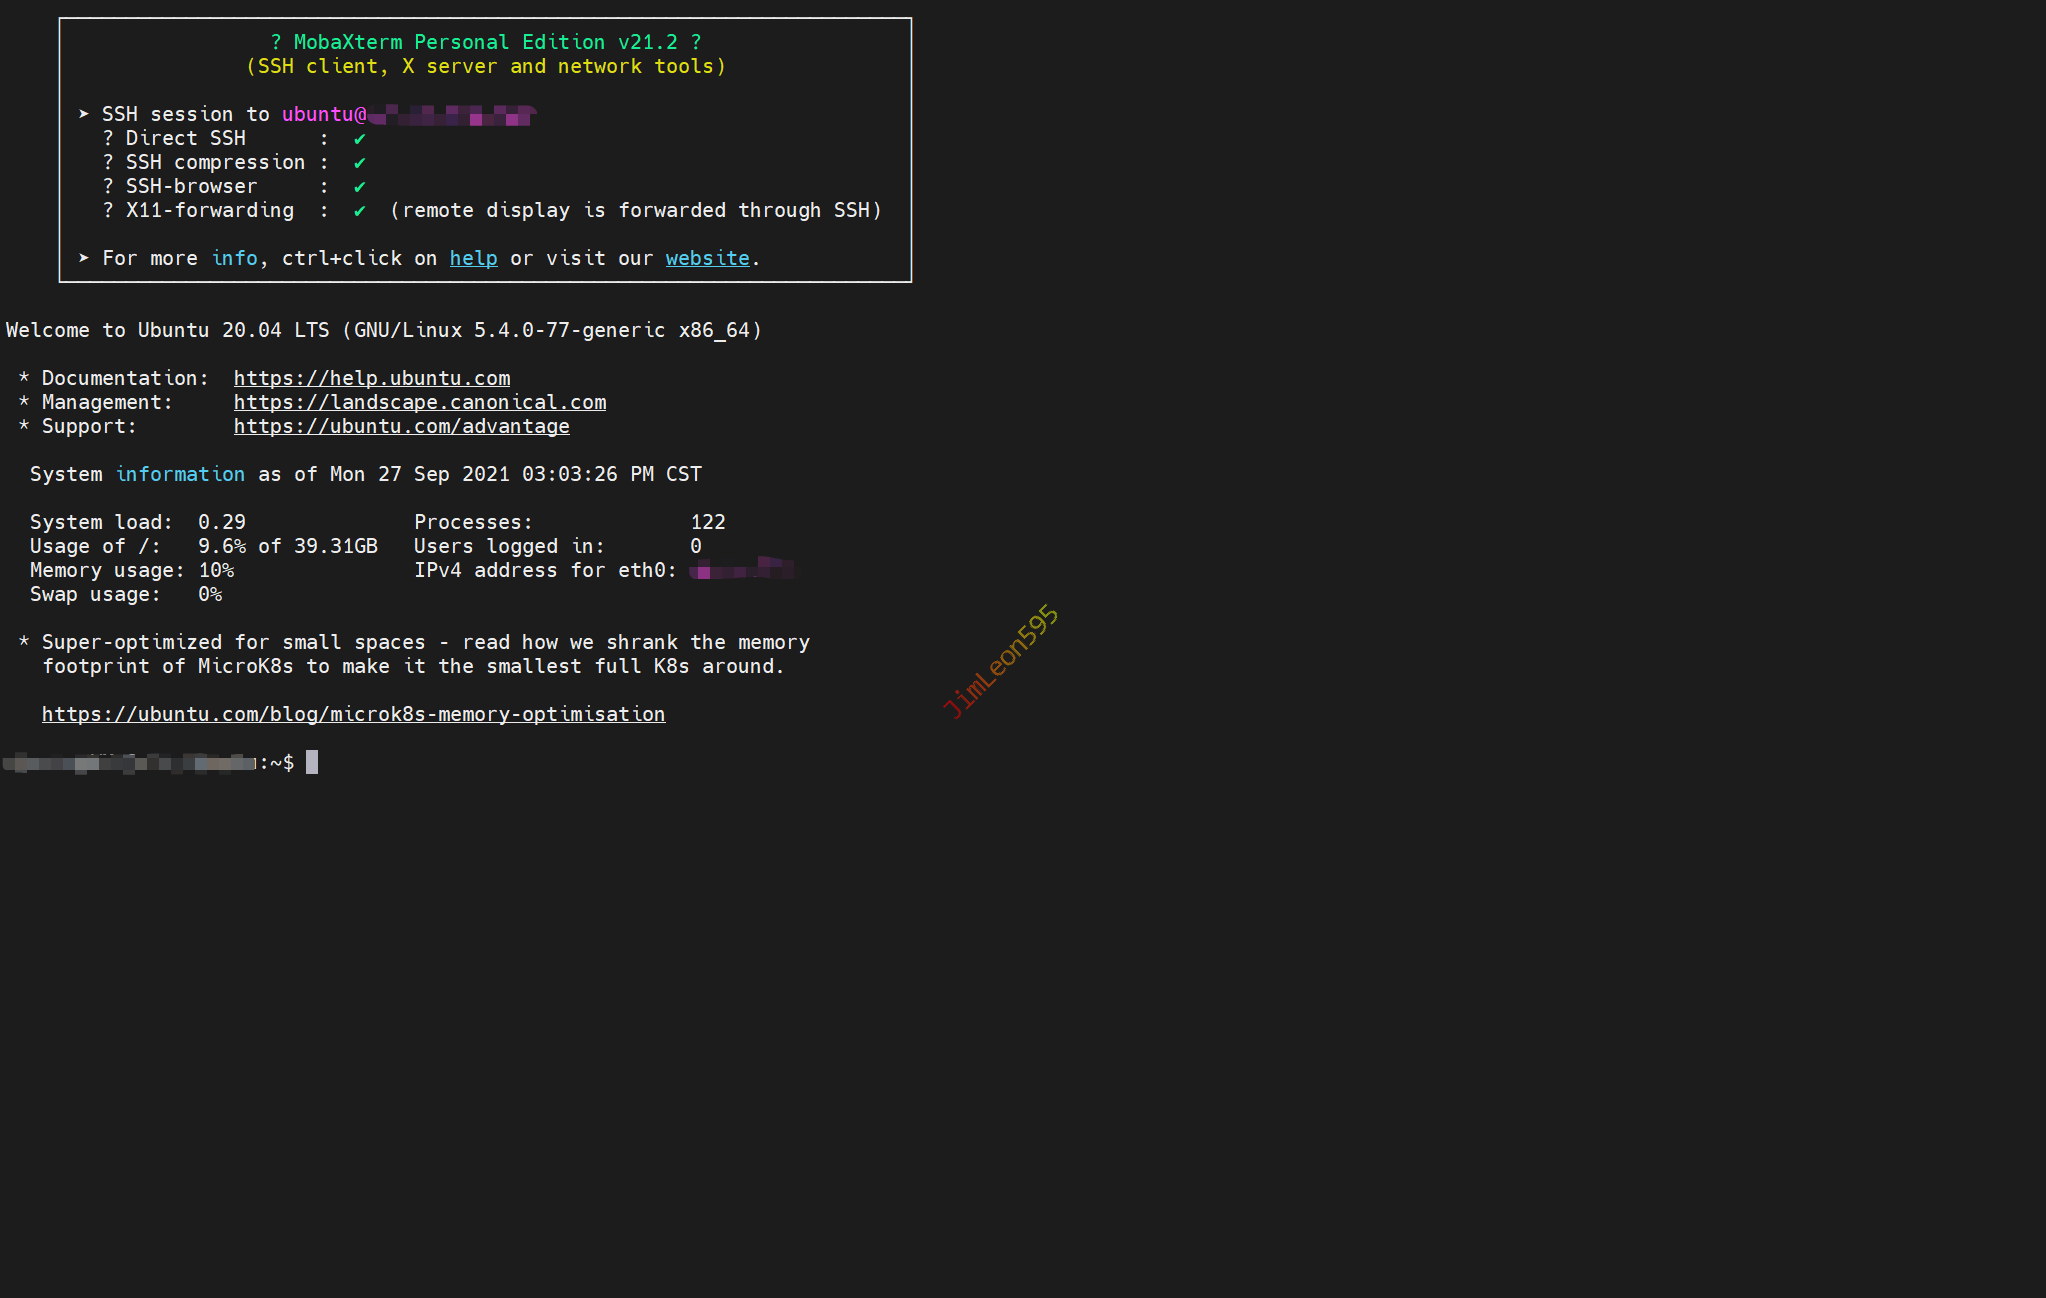
然后对系统中的软件及依赖进行更新
1
2
| sudo apt update
sudo apt full-upgrade
|
开始搭建网站
搭建 Nginx 网站
在之前的文章中我们知道
我们用学生优惠嫖了学生主机
之后我们搞事情的主角就是它了
安装Nginx
查看安装版本

启动Nginx
参看Nginx状态
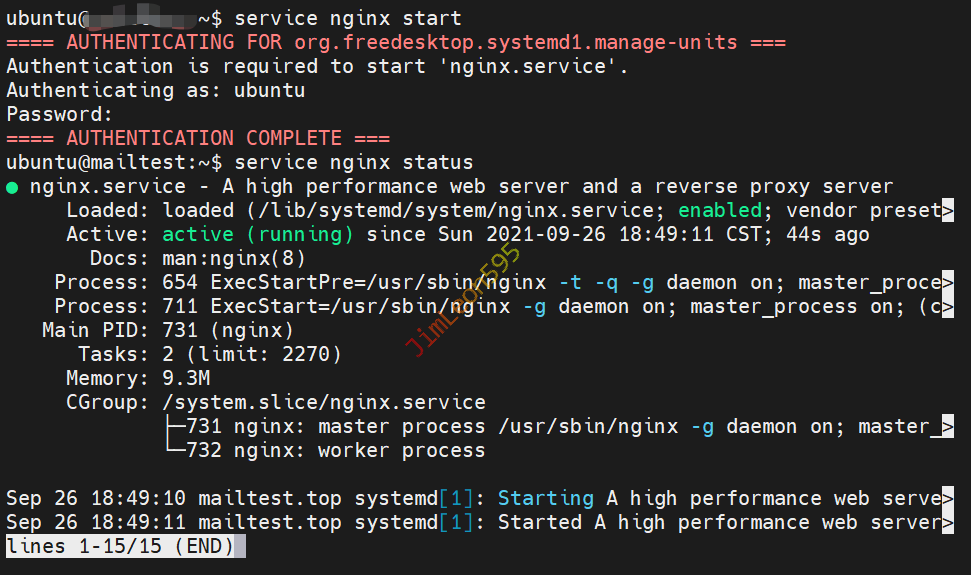
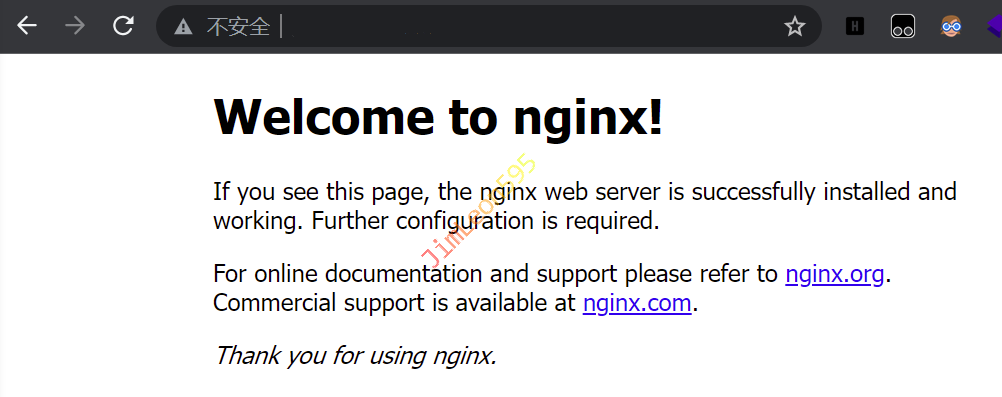
在浏览器输入服务器地址
我们就可以访问到新建的网页
编写我们主页代码
配置 Nginx 网站
我们进入到Nginx默认的网站目录
遍历目录我们会发现
index.html、index.htm、index.nginx-debian.html
三个文件中的任意一个

在浏览器输入云服务器的地址之后
我们发现这个页面就证明服务成功启动了
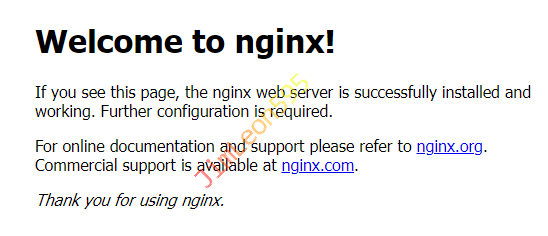
通过对index.nginx-debian.html文件的编写
1
2
3
4
5
6
7
8
9
10
11
12
13
14
15
16
17
18
19
20
21
22
23
24
25
26
27
28
29
30
31
32
33
34
35
36
37
38
39
40
41
42
43
44
45
46
47
48
49
50
51
52
53
54
55
56
57
58
59
60
61
62
63
64
| <!DOCTYPE html>
<html lang="en">
<head>
<meta charset="UTF-8">
<meta name="viewport" content="width=device-width, initial-scale=1.0">
<title>Document</title>
</head>
<body>
<div id="pic" style="text-align: center;">
这 是 我 的 个 人 代 码 仓 库 !
</div>
<div id="footer" style="text-align: center;">
<a href="https://beian.miit.gov.cn/" target="_blank">粤ICP备**********号-1</a>
</div>
<script>
function placeholderPic(){
var w = document.documentElement.offsetWidth;
var h = window.screen.availHeight;
document.getElementById('pic').style.fontSize=w/40+'px';
document.getElementById('pic').style.paddingTop=h/2-w/40+'px';
document.getElementById('footer').style.paddingTop=h/2-120+'px';
}
placeholderPic();
window.onresize=function(){
placeholderPic();
}
</script>
<script src="https://code.jquery.com/jquery-3.1.1.min.js"></script>
<script>
(function ($) {
$.fn.typewriter = function () {
this.each(function () {
var $ele = $(this),
str = $ele.html(),
progress = 0;
$ele.html('');
var timer = setInterval(function () {
var current = str.substr(progress, 1);
if (current == '<') {
progress = str.indexOf('>', progress) + 1;
} else {
progress++;
}
$ele.html(str.substring(0, progress) + (progress & 1 ? '_' : ''));
if (progress >= str.length) {
clearInterval(timer);
}
}, 150);
});
return this;
};
})(jQuery);
$("#pic").show().typewriter(50);
</script>
</body>
</html>
|
修改完文件之后
我们要检验一下配置是否正常
然后我们需要刷新一下网页
使其新修改的网页更新生效
1
| sudo systemctl restart nginx
|
然后我们使用云主机的IP进行访问
配置 Nginx 配置
但是我们现在还不是使用域名进行访问的
我们下面就要把网站从IP映射到域名上去
那我们就要对Nginx配置使其可以直接访问网站
1
| vim /etc/nginx/nginx.conf
|
我们可以在http{}里添加以下这段
1
2
3
4
5
6
| server {
listen 80
server_name your_domain
root /var/www/html
index index.html
}
|
添加完毕之后我们再重启一下Nginx服务
1
| sudo systemctl restart nginx
|
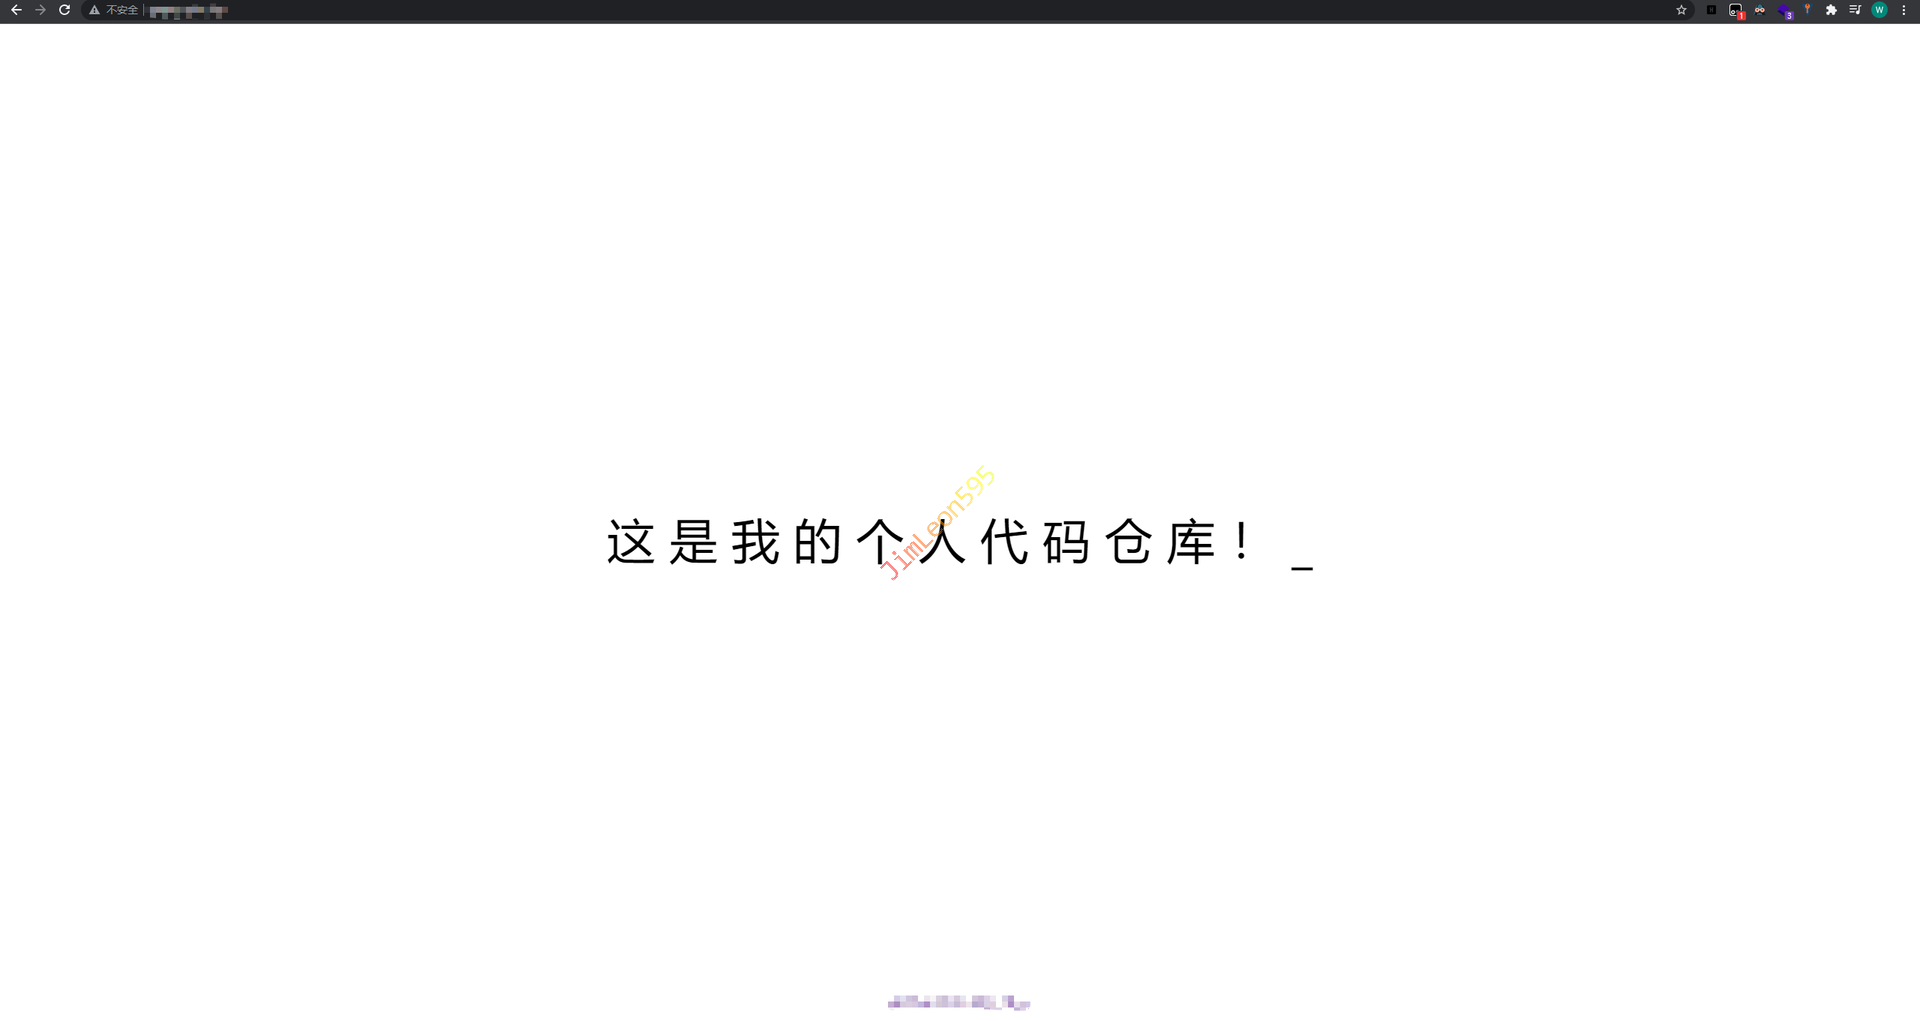
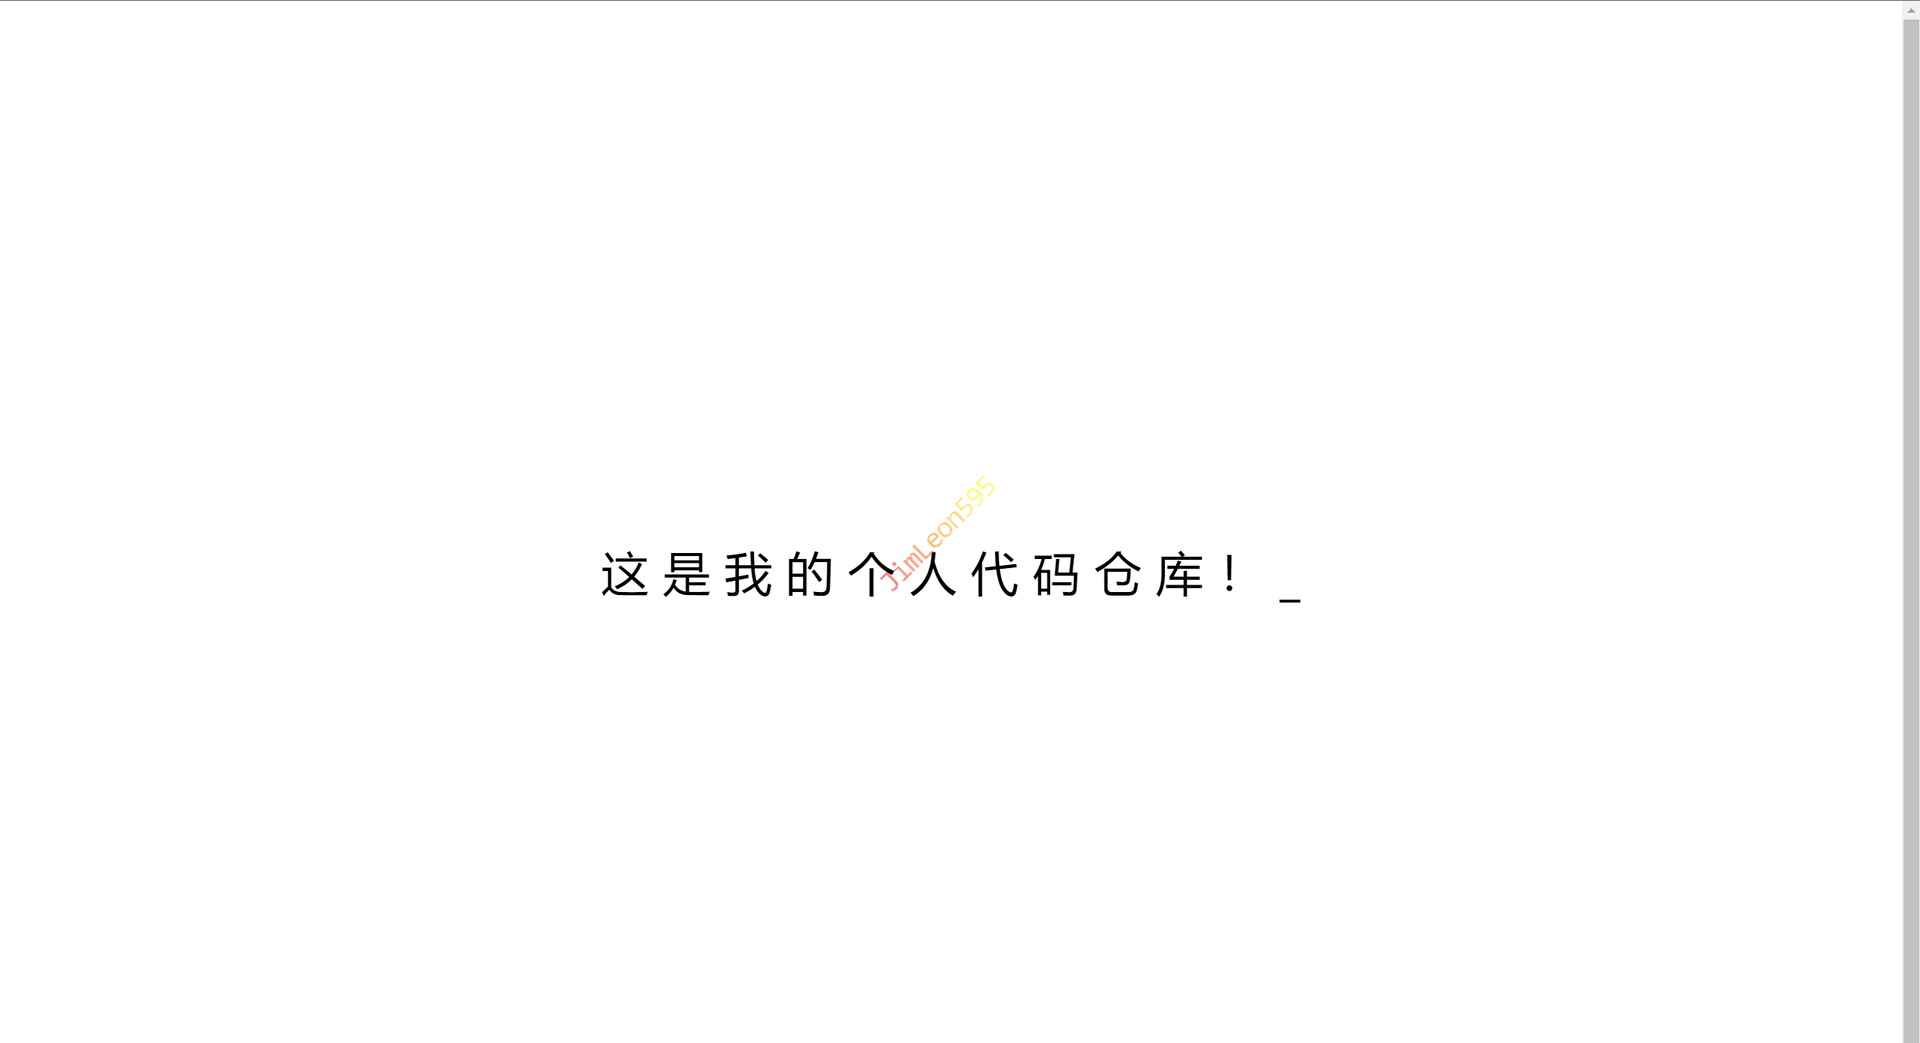
搭建完毕
如下图所示,这个我搭建的极简网站