VPS 搭建 Frp 服务器 进行内网穿透
前言
现在越来越多的家宽没有公网IP
不要说固定的IP
甚至有一家连动态IP都不给
那我们现在还想远程连回家
那我们就试试用Frp吧
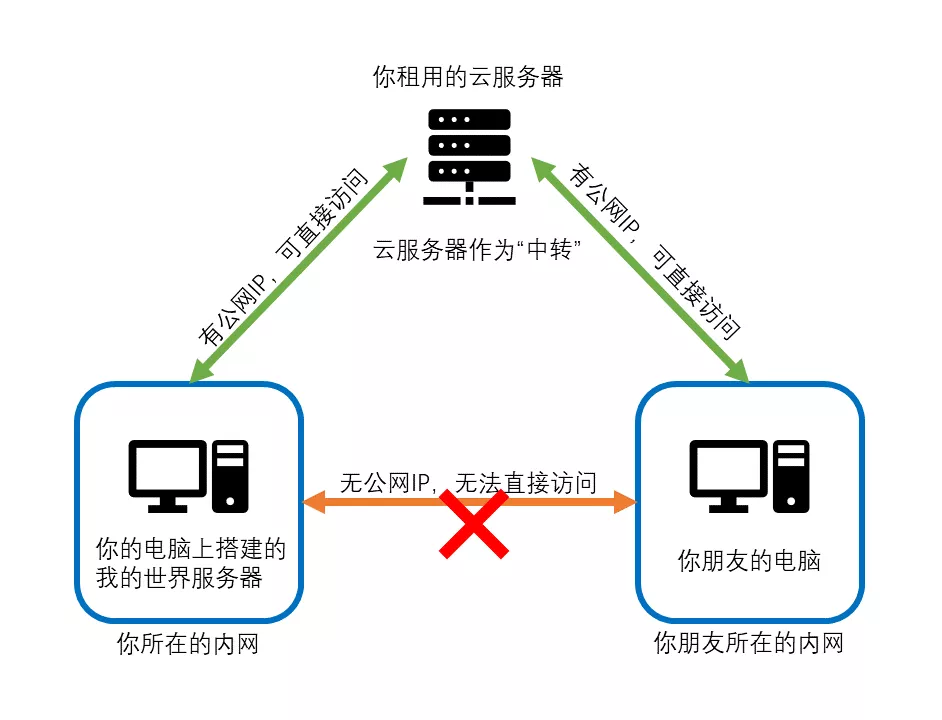
原理拓扑
借用大佬的拓扑图
我们可以看到
我们游戏服务器和朋友的主机
都位于各自运营商的大内网中
现在我们借助一台VPS做中转
只要我们都能访问到那台VPS
我们就可以一起愉快的玩游戏
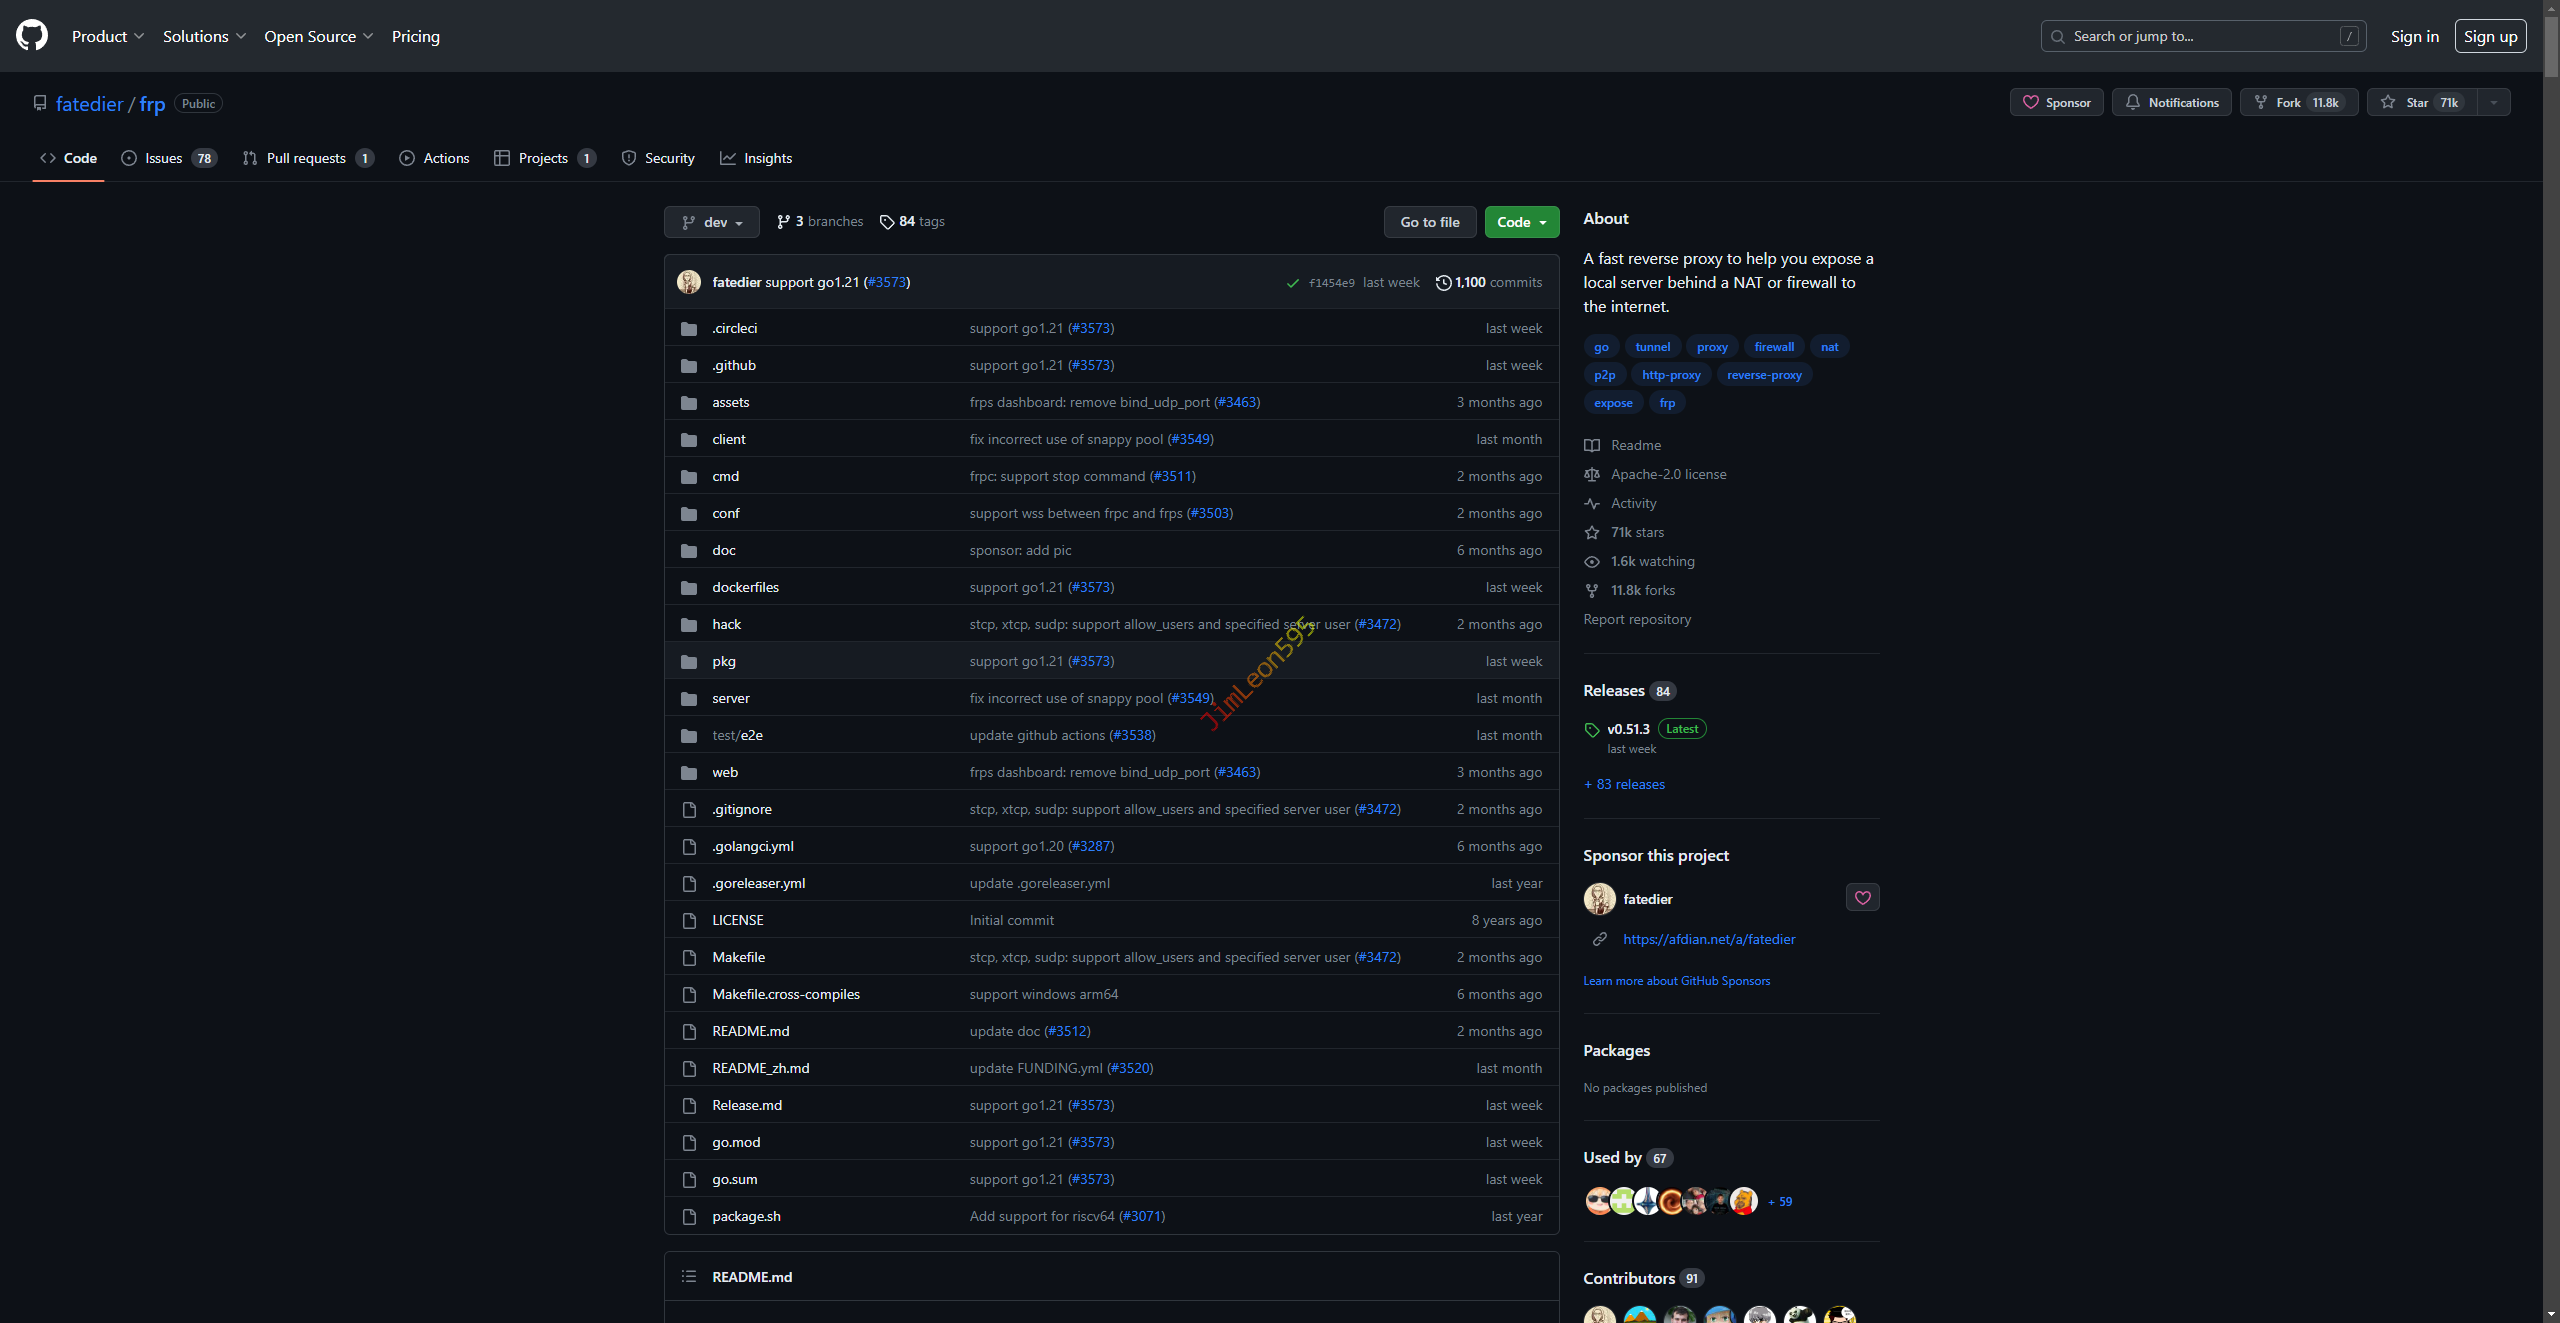
Frp 文件下载
Frp 源码
1 | https://github.com/fatedier/frp |
Windows 下载
直接下载就好
咁都唔识,小儿麻痹咩你~
下载完就解压啦
Linux 下载
- 按照
最新版本号更改下载链接
1 | wget https://github.com/fatedier/frp/releases/download/v0.51.3/frp_0.51.3_linux_amd64.tar.gz |
- 解压下载好的安装包
1 | tar -zxvf frp_0.51.3_linux_amd64.tar.gz |
删除无用配置
Frp Server 配置
1 | sudo rm -f frpc* |
Frp Client 配置
1 | sudo rm -f frps* |
Frp Server 配置
修改 Frp Server 配置
1 | sudo vim frps.ini |
frps.ini 参考配置
可以参考进行修改
1 | [common] |
保持后台运行
1 | # 创建 frp 后台 |

Screen 命令简介
1 | # 新建名为 [xxx] 的 Session |
注册系统服务
1 | sudo vim /etc/systemd/system/frps.service |
修改 Frp Server 服务文件
1 | [Unit] |
Frp 系统命令
1 | # 启动测试 |
Frp Server 开放端口
- 大家根据自己设置端口去各自云服务商开启
例如我就是开启了7000和7500端口
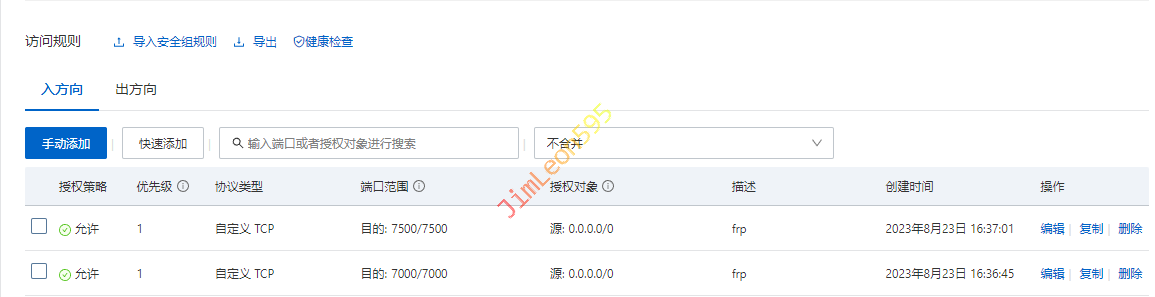
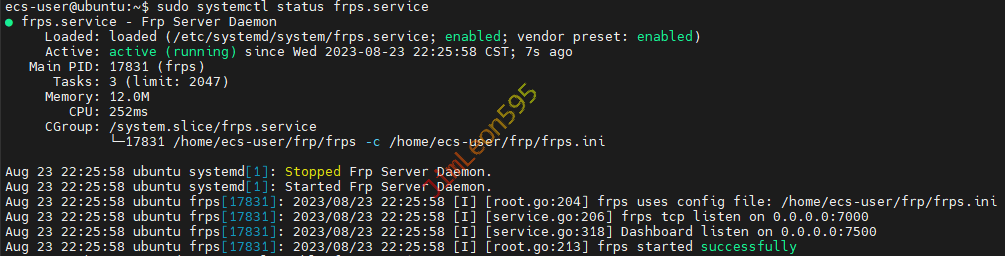
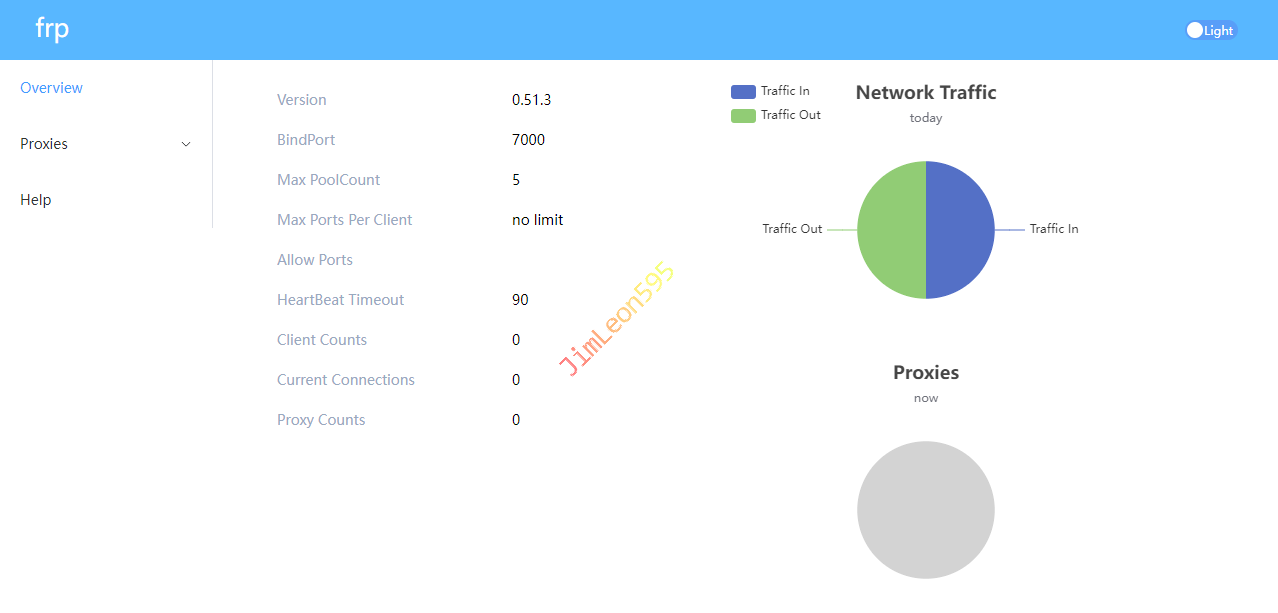
服务端搭建成功
系统服务
Frp 管理后台
Frp Client 配置
- 这里我们用
Windows作为客户端演示
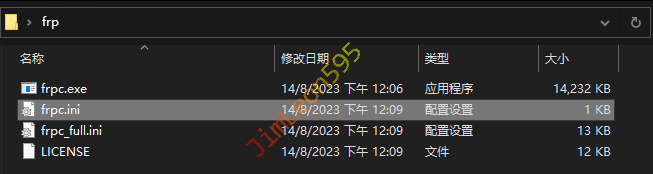
修改 Frp Client 配置
修改 frpc.ini
frps.ini 参考配置
可以参考进行修改
1 | [common] |
客户端示例配置
- 本段可以多次添加,同时进行多个端口的内网穿透
1 | # SSH |
开启 Frp Client 服务
1 | ./frpc -c ./frpc.ini |

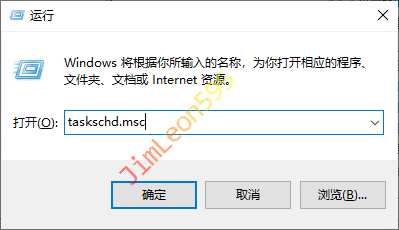
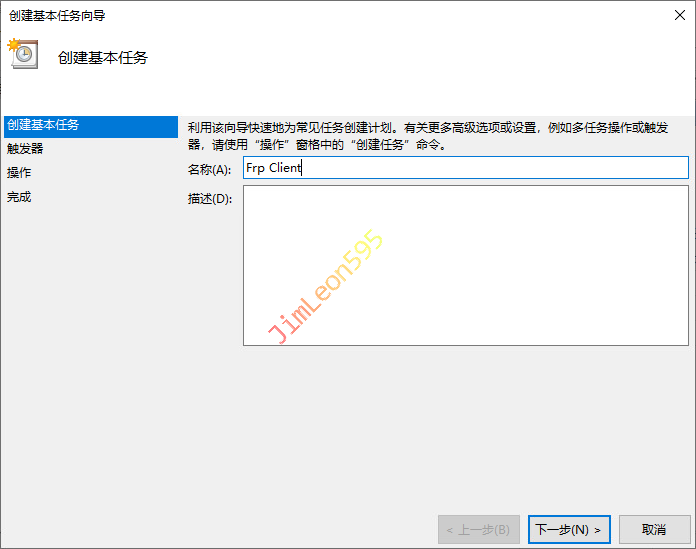
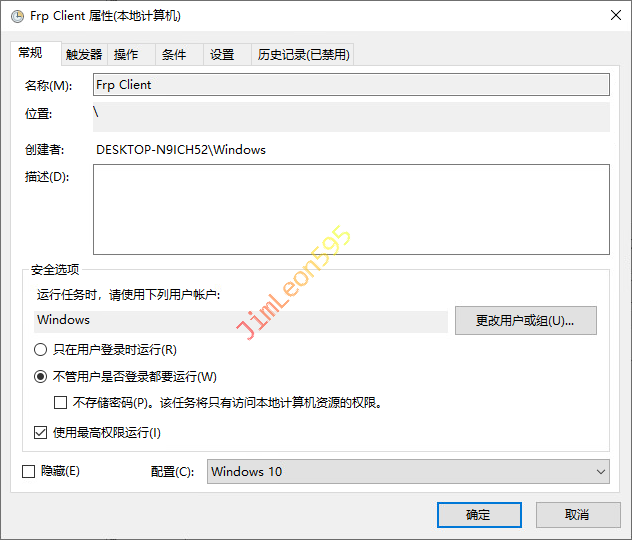
Frp Client 开机自启
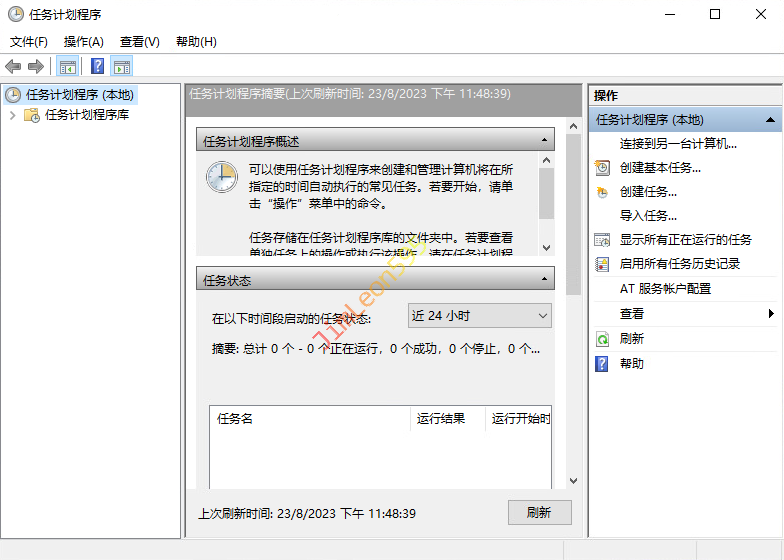
Win+R打开taskschd.msc
- 创建基本任务
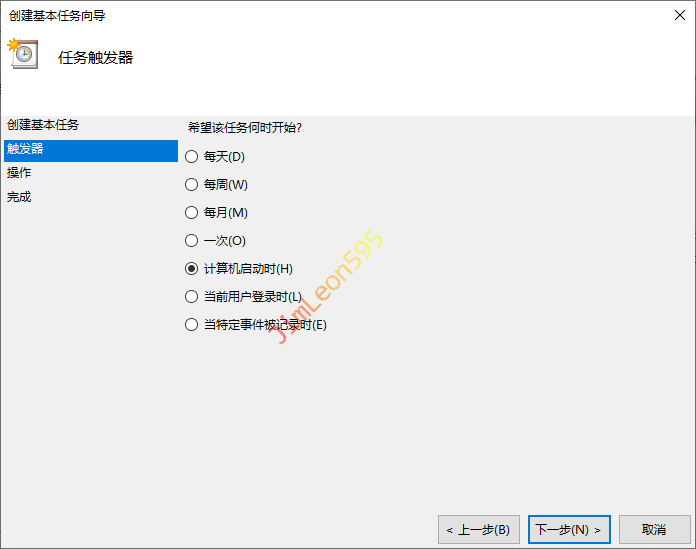
- 选择
计算机启动时
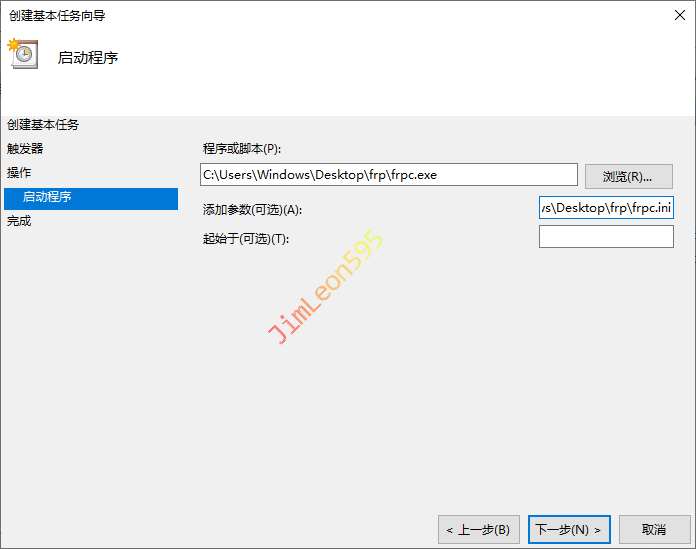
- 选择
启动程序

- 配置自动执行脚本
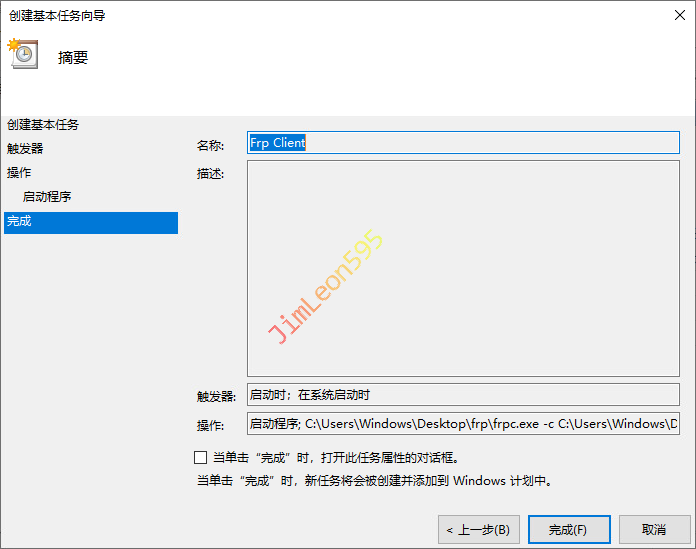
- 完成配置
- 不管用户是否登录都要运行
- 需要输入账户密码
Frp Client 开放端口
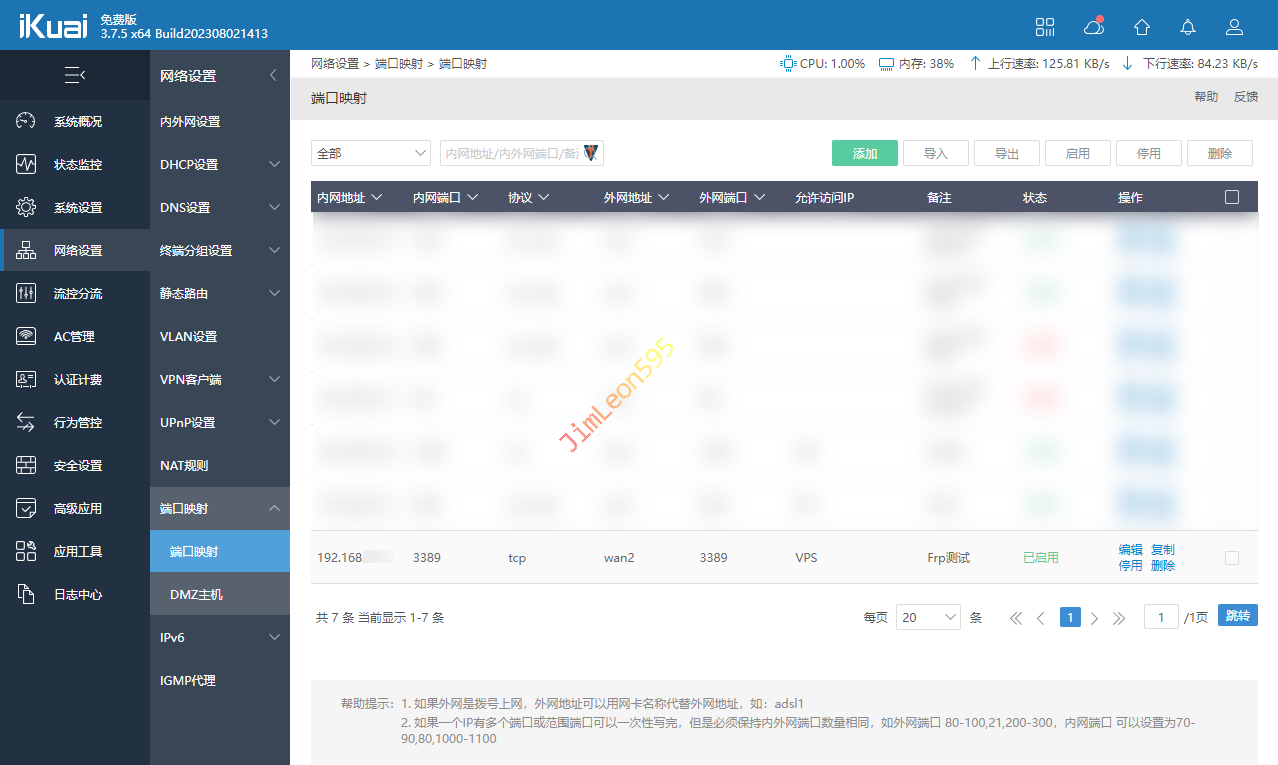
本地网关路由器
- 大家根据自己设置端口去各自网关路由器开启
例如我就是开启了3389端口
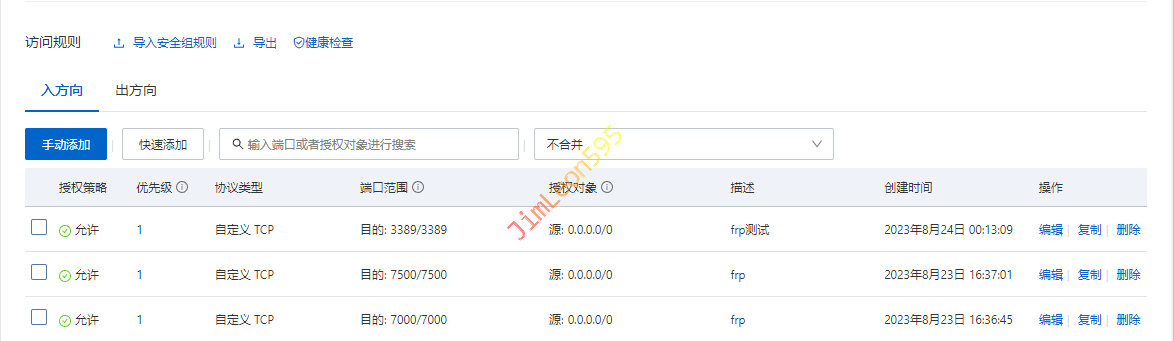
云主机 VPS
- 大家根据自己设置端口去各自云服务商开启
所以云主机还要开启3389端口
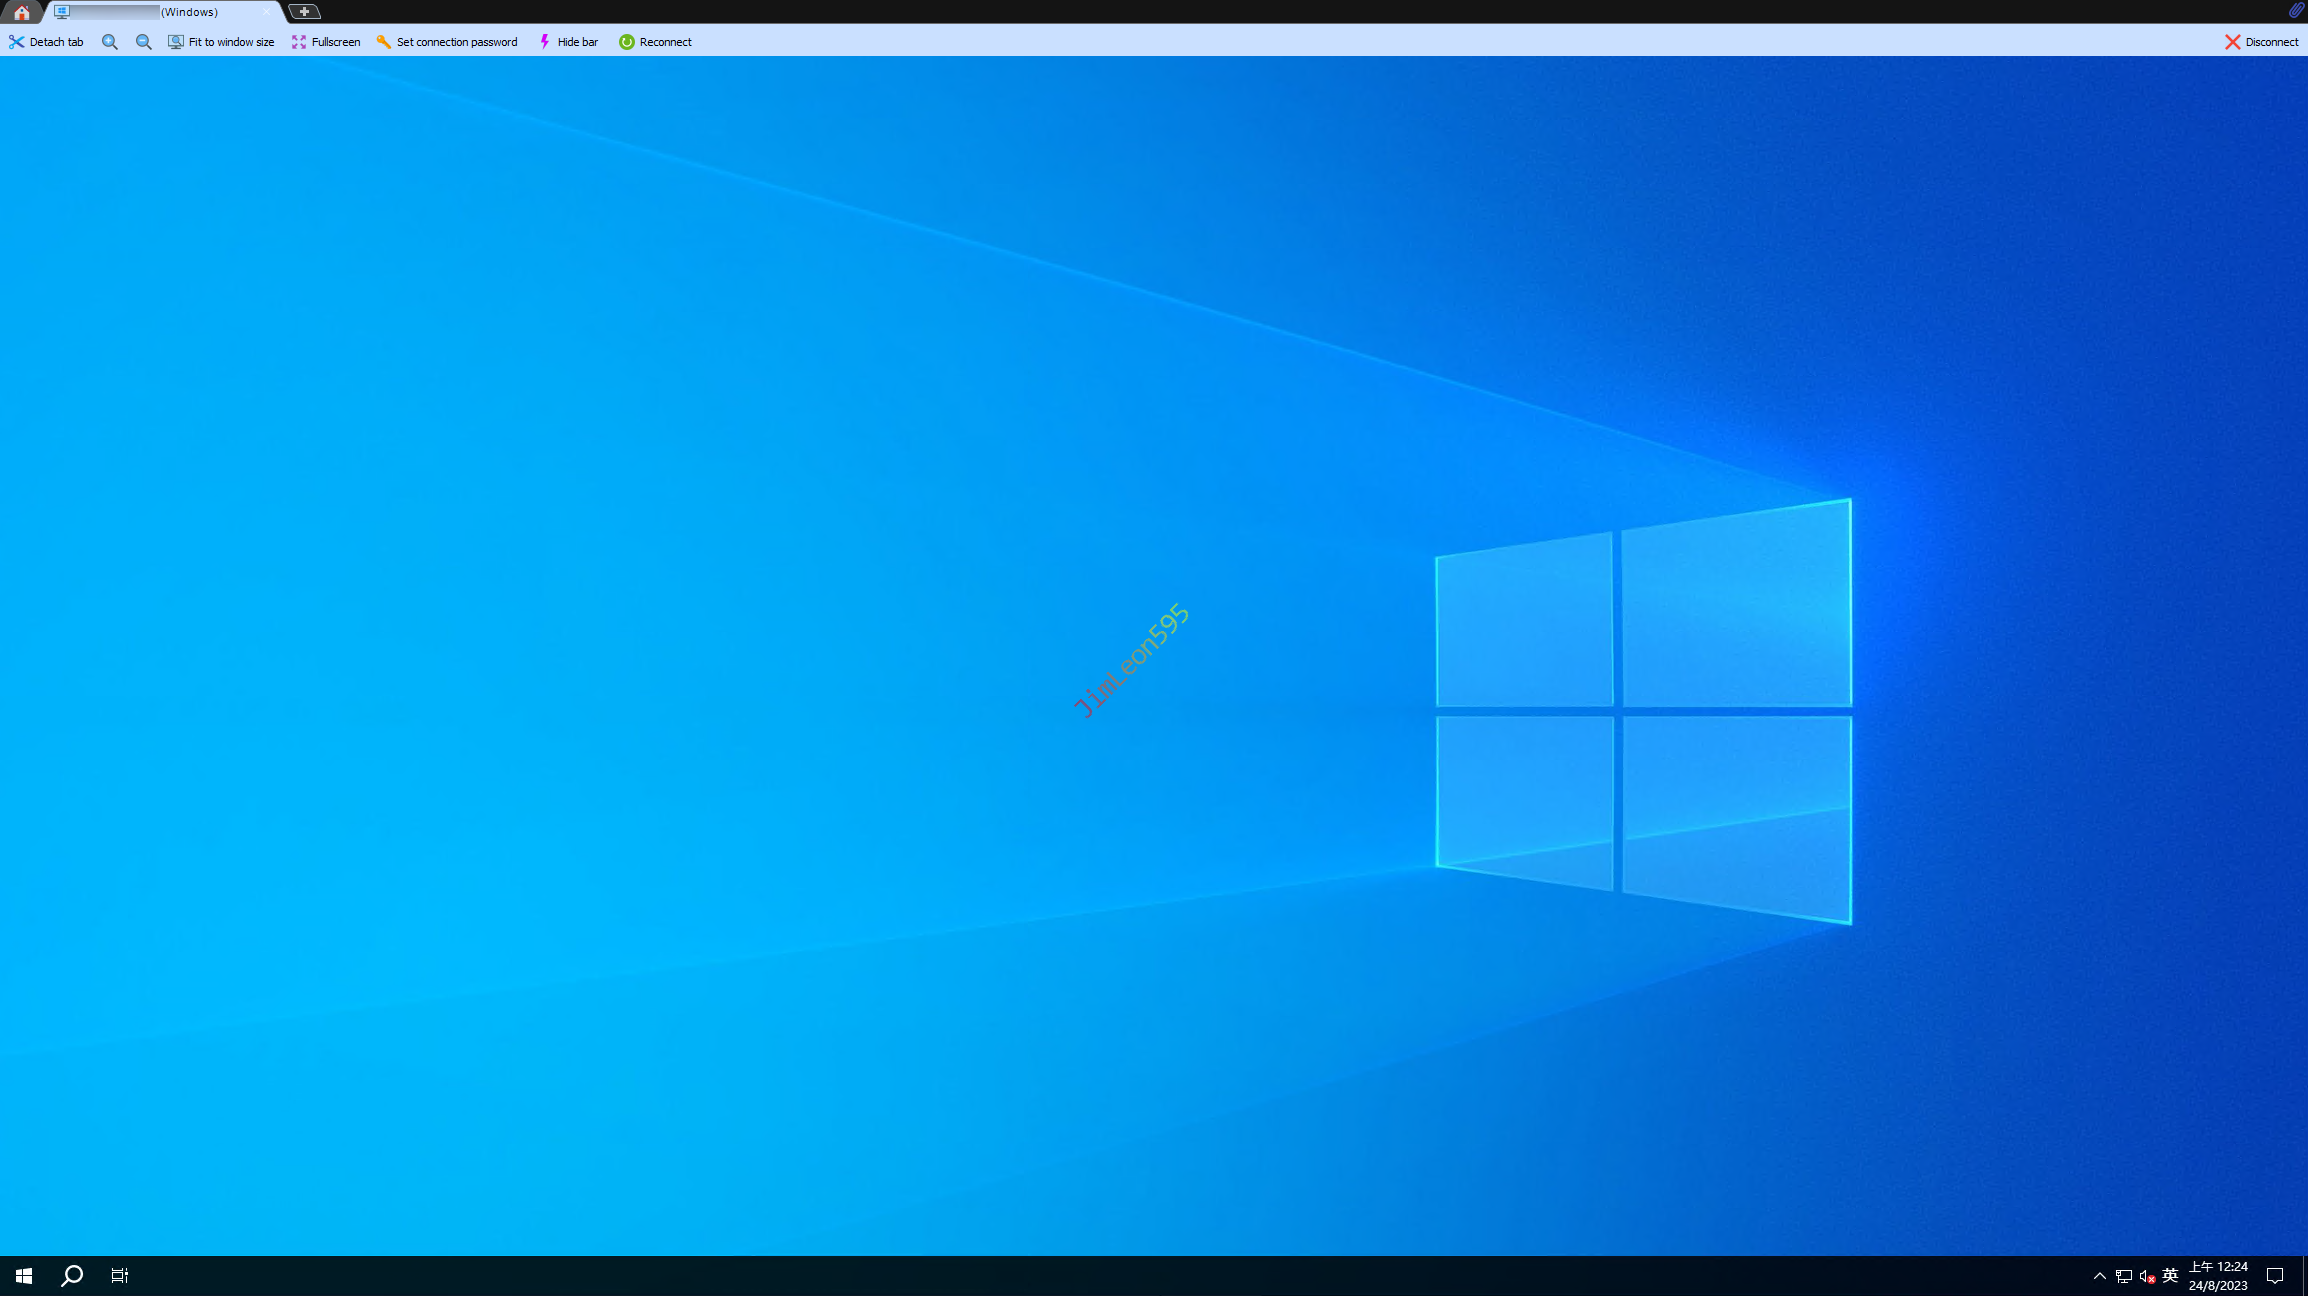
Frp 连接成功
参考 & 引用
https://www.zouht.com/727.html
https://learnku.com/articles/45769
https://cloud.tencent.com/developer/article/1700417
https://wp.gxnas.com/12153.html
本博客所有文章除特别声明外,均采用 CC BY-NC-SA 4.0 许可协议。转载请注明来源 JimLeon595!
相关推荐
2023-08-28
VPS 搭建 DNSLog 服务器
前言 感觉像打游戏这样 慢慢把技能点点亮了 但是自己又有点执念 觉得只信任自己掌握的东西 前期准备 一台具有固定公网 IP 的 VPS 一个域名 域名解析 VPS 必须放通 UDP/53 端口 进入你的域名管理后台设置域名指向 类型 名称 地址 A log VPS 主机 IP 地址 NS dnslog dnslog.domain.site DNSLog-GO 项目地址 感谢lanyi1998大佬的项目 1https://github.com/lanyi1998/DNSlog-GO 下载项目 VPS 基本上都是 Linux 1234# 拉取项目wget https://github.com/lanyi1998/DNSlog-GO/releases/download/1.5.6/dnslog-linux.zip# 解压项目unzip ./dnslog-linux.zip -d ./dnslog 编辑配置文件 12cd ./dnslogsudo vim ./config.yaml 123456789101112HTTP: # Htt...
2023-08-06
OpenWrt 安装及配置 AdGuard Home
前言 想局域网全部杀广告 用AdGuard Home啦 安装 AdGuard Home 系统 --> TTYD 终端 AdGuard Home Github 1https://github.com/rufengsuixing/luci-app-adguardhome/releases 下载 AdGuard Home 1wget https://github.com/rufengsuixing/luci-app-adguardhome/releases/download/1.8-11/luci-app-adguardhome_1.8-11_all.ipk 安装 AdGuard Home 1opkg install luci-app-adguardhome_*.ipk 准备工作 服务 --> AdGuard Home 更新核心版本 刚安装应该是没有核心文件 然后我们直接点击更新就好 开启管理页面 点击启用并保存配置 然后我们再登录管理页面 1http://[OpenWrt_IP_Address]:3000/ 配置 AdGuard Home 那就让我们开始配置吧 修...
2023-05-14
Docker 容器自动重启配置
前言 有的时候我们会启动Docker之后 才发现忘记打开Docker的自动启动 现在我们就看看怎么设置吧 容器启动时 1sudo docker run <Container_Name> --restart=always 容器已经启动时 1sudo docker update --restart=always <Container_ID> –restart 参数说明 1234no: 容器退出时,不重启容器;on-failure: 只有在非0状态退出时才从新启动容器;no-failure:3: 在容器非正常退出时重启容器,最多重启 3 次;always: 无论退出状态是如何,都重启容器。

2023-04-13
CentOS Docker 使用教程
卸载旧版本 Docker 在安装之前,我们先把旧版本的Docker卸载掉吧 12345678sudo yum remove docker \ docker-client \ docker-client-latest \ docker-common \ docker-latest \ docker-latest-logrotate \ docker-logrotate \ docker-engine yum 安装 引进 Docker 源 因为这次的技术路线是用Docker进行搭建 所以第一步,我们先引入Docker镜像源 1234yum install -y yum-utilsyum-config-manager \ --add-repo \ https://download.docker.com/linux/centos/docker...
2023-05-30
Android 使用 ADB 安装软件
前言 我之前有一个智能手表 但是固件越更新越少软件 那我们直接来ADB安装吧 下载 Android SDK Platform Tools 我们首先想要下载 Android SDK Platform Tools 方便我们进行连接我们的Android设备 1https://dl.google.com/android/repository/platform-tools-latest-windows.zip 允许 USB 调试 我们使用电脑接上我们的Android设备 然后允许接入USB调试 adb devices 然后我们来确认设备连接情况 1adb devices ADB 安装软件 1adb install <*.apk> ADB 覆盖安装 1adb install -r <*.apk> ADB 卸载安装 1adb install -r -d <*.apk> ADB 指定设备安装 1adb install -s <devices> -r <*.apk> 安卓手表第三方商店 唯趣应用商店 1http://www.etra...
2022-03-07
Windows 使用 OpenWrt 内置 KMS 内网激活
前言 我们经常会需要安装 Windows 进行测试 但是有时候没有激活的 Windows 貌似有一点点限制 所以我们可以借助内网自己搭建的 KMS 【密钥管理系统】 当然,之前我们就装好了 Esir 定制版 Openwrt 里面就自带了一个够用的 KMS 服务器 如果有需要的话,我们还能添加相关的密钥 自建 KMS 激活 Windows 白嫖 Mircosoft 官方 Volume Keys 因为巨硬有测试和企业业务的需求 会放出一些Generic Volume License Keys【GVLK】 1https://docs.microsoft.com/en-us/windows-server/get-started/kms-client-activation-keys 然后我们寻找到我们对应的版本 这次我们的版本是Windows LTSC 2021 安装 产品 密钥 我们搜索中寻找CMD,并用管理员权限打开 然后结合我们刚刚获取到GVLK 1slmgr /ipk M7XTQ-FN8P6-TTKYV-9D4CC-J462D 指定 KMS 激活 服务器 因为我们的KM...